
5 Steps to Seed Starting for Brassicas: A Hands-On Guide for Zone 9 Gardeners

Some of the links on this website are affiliate links, which means that if you make a purchase through these links, I may earn a small commission at no additional cost to you. As an Amazon Associate, I earn from qualifying purchases. I only recommend products I genuinely trust and believe will bring value to my readers. Also, some of the content was created with strategic use of AI tools. For more information, please visit the Privacy Policy page. Thank you for supporting my blog and helping me continue to provide valuable content. Gardening is more than growing food—it's where God grows us. If you're hungry for a faith that feels grounded again, I wrote a book for you. Download my free eBook: Rooted in Grace: A Christian Guide to Intuitive Gardening
Introduction
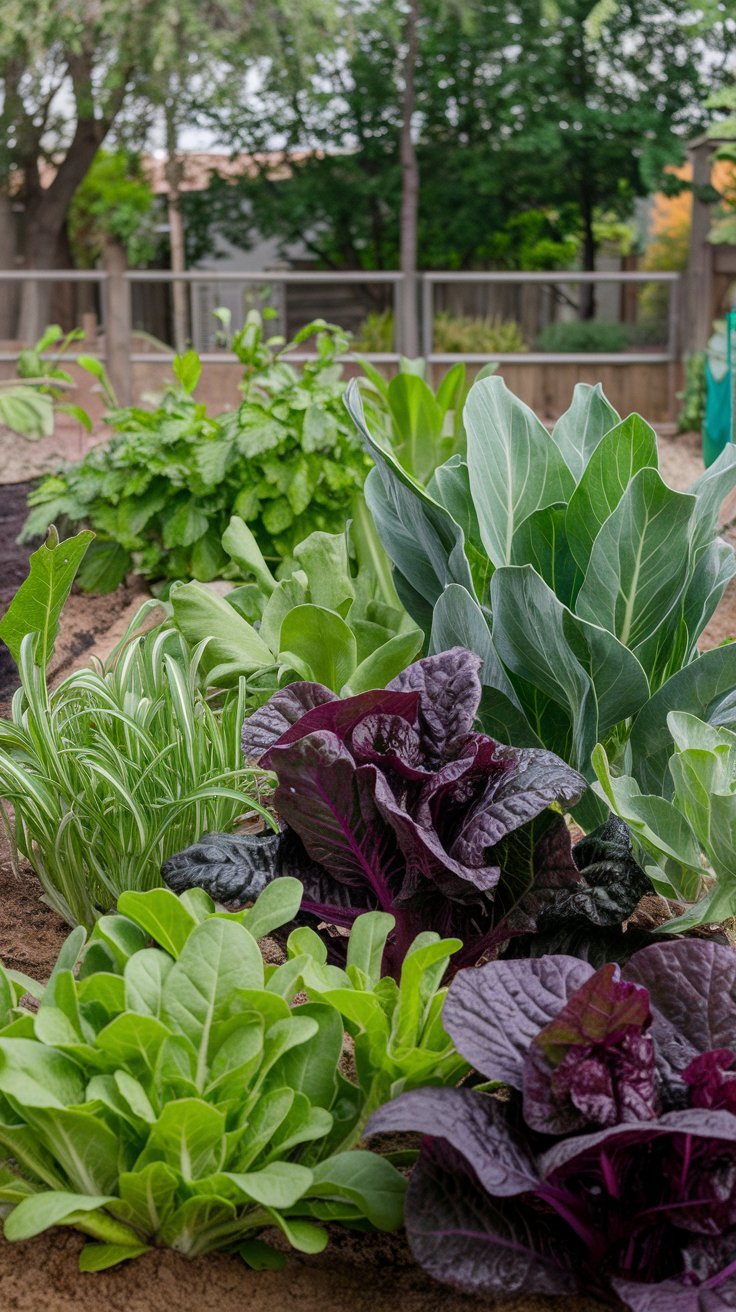
Brassicas, also known as cruciferous vegetables, are some of the most rewarding crops to grow in your garden. From broccoli and cauliflower to kale and cabbage, these cool-season vegetables thrive in Zone 9’s mild winters and early spring. Starting your brassica seeds indoors gives you a head start on the growing season and ensures strong, healthy seedlings for transplant. In this guide, we’ll walk you through every step of seed starting for brassicas, share common pitfalls to avoid, and recommend some of the best tools and supplies to make the process as smooth as possible.

Don’t forget to check out our detailed guides for growing broccoli and kale once your seedlings are ready to plant!
Why Start Brassicas from Seed?
Starting brassicas from seed has several benefits:
- Cost Savings: A single packet of seeds can produce dozens of plants, making it far more economical than buying transplants.
- Greater Variety: Explore unique brassica varieties that are hard to find at nurseries. Ever tried Romanesco broccoli or Lacinato kale?
- Healthier Plants: Seedlings started at home are often healthier and better adapted to your garden conditions.
Planting brassica seeds also allows you to control the timing and ensures you’re growing crops suited to your microclimate in Zone 9.
Step 1: Choose the Right Seeds
Not all brassicas are created equal. Selecting the right varieties for Zone 9 can make all the difference. Here are some tried-and-true options:
| Vegetable | Suggested Varieties | Notes |
|---|---|---|
| Broccoli | Waltham 29, Calabrese | Thrives in mild winter temperatures. |
| Cabbage | Early Jersey Wakefield, Savoy Perfection | Ideal for compact gardens. |
| Cauliflower | Snowball, Romanesco | Romanesco adds a unique twist to dishes. |
| Kale | Lacinato (Dinosaur), Red Russian | Cold-hardy and nutrient-packed. |
| Brussels Sprouts | Long Island Improved | Best when grown during cool weather. |
| Kohlrabi | Purple Vienna, White Vienna | A crunchy addition to salads and slaws. |
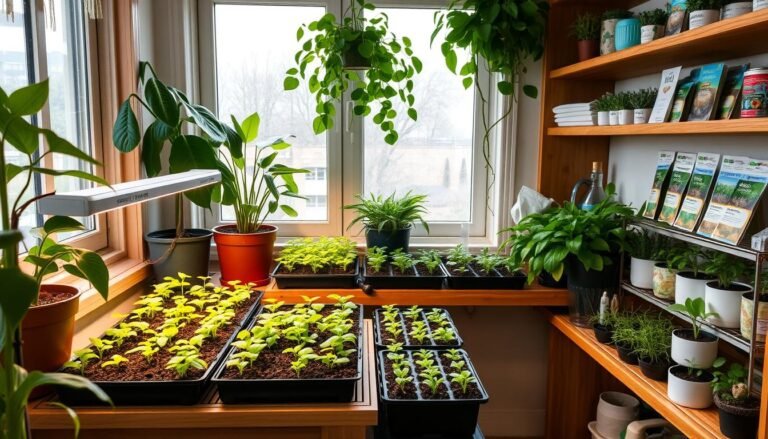
Step 2: Gather Your Supplies
Before you start sowing, make sure you have the right tools. Here’s what you’ll need:
- Seed Trays: Choose trays with drainage holes to prevent waterlogging.
- Sterile Seed-Starting Mix: A light, well-draining mix designed for germination is best. Avoid garden soil as it may harbor diseases.
- Grow Lights: Essential for providing the 12-16 hours of light brassica seedlings need daily.
- Spray Bottle: For gentle watering to avoid disturbing seeds.
- Labels: Clearly mark each variety to avoid confusion later.
Pro Tip: Premoisten your seed-starting mix before sowing seeds. It should feel like a damp sponge—not soggy!


Step 3: Sowing Your Brassica Seeds
- Fill Trays: Fill your seed trays with the premoistened seed-starting mix, leaving about 1/4 inch of space at the top.
- Plant Seeds: Sow brassica seeds 1/4 inch deep. Cover lightly with the mix and mist with water.
- Label: Write the name and sowing date for each variety on labels.
- Water: Use a spray bottle to gently moisten the top layer of soil. Avoid overwatering.
Common Pitfall: Overwatering can lead to damping-off disease, a fungal infection that kills seedlings. Ensure your trays have proper drainage and avoid letting them sit in standing water.
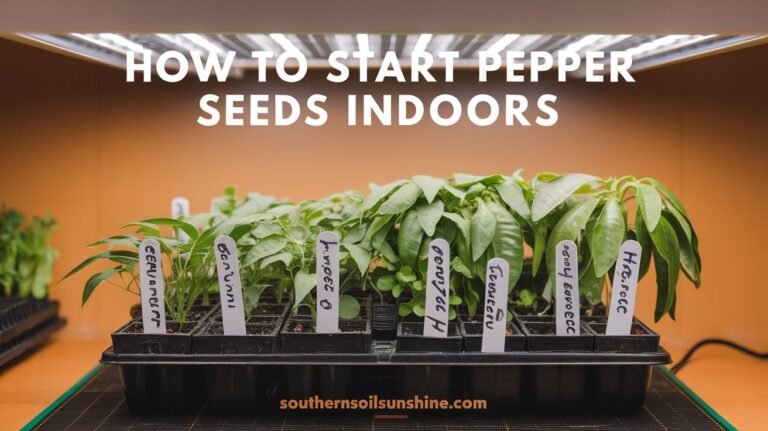
Step 4: Create the Ideal Growing Environment
- Temperature: Brassica seeds germinate best at 65-75°F. Use a heat mat if your indoor space is chilly.
- Light: Place trays under grow lights as soon as seeds sprout. Position the lights 2-3 inches above the seedlings and adjust as they grow.
- Humidity: Use a humidity dome to keep the environment moist but remove it once seedlings emerge to prevent fungal issues.
Step 5: Care for Your Seedlings
- Thinning: Once seedlings have two true leaves, thin to one plant per cell to give them room to grow.
- Watering: Keep the soil consistently moist but not waterlogged. Check daily by touching the soil surface.
- Fertilizing: After two weeks, feed seedlings with a diluted organic liquid fertilizer, like Fish Emulsion, every 10-14 days.
- Hardening Off: About 1-2 weeks before transplanting, gradually expose seedlings to outdoor conditions by placing them outside for a few hours each day.
Common Seed-Starting Pitfalls
- Overcrowding: Avoid planting too many seeds in one cell, which leads to weak seedlings.
- Low Light: Without grow lights, seedlings become leggy and weak.
- Inconsistent Watering: Too much or too little water can cause stress and lead to poor growth.
- Skipping Hardening Off: Sudden exposure to outdoor conditions can shock seedlings.
To avoid these pitfalls, try the following:
- Transplant brassica seedlings when they have 4-6 true leaves and the outdoor soil temperature is consistently above 45°F.
- Space plants 12-18 inches apart to give them room to grow.
- Amend the planting area with compost or organic matter before transplanting. Check out our Soil Health for Suburban Gardens for more tips.
Brassica Seed Starting Schedule for Zone 9
| Vegetable | Indoor Sowing Date | Transplant Date |
|---|---|---|
| Broccoli | 6-8 weeks before last frost | 2 weeks before last frost |
| Cabbage | 6-8 weeks before last frost | 2 weeks before last frost |
| Cauliflower | 6-8 weeks before last frost | 2 weeks before last frost |
| Kale | 4-6 weeks before last frost | At last frost |
| Brussels Sprouts | 6-8 weeks before last frost | 2 weeks before last frost |
| Kohlrabi | 4-6 weeks before last frost | At last frost |
Pro Tip: Use our Zone 9 Planting Calendar for a complete month-by-month guide.
Conclusion
Starting brassica seeds indoors is a simple yet rewarding way to ensure a productive garden in Zone 9. With the right tools, techniques, and a bit of patience, you’ll have strong seedlings ready to thrive in your garden. Whether you’re growing broccoli, kale, or cabbage, these cool-season crops will reward you with abundant harvests. Ready to get started? Stock up on essential seed-starting supplies and let your gardening journey begin!
Have you started your brassica seeds yet? Share your tips and experiences in the comments below!


3 Comments