
How to Start Pepper Seeds Indoors: A Step-by-Step Guide for Zone 9 Gardeners

Some of the links on this website are affiliate links, which means that if you make a purchase through these links, I may earn a small commission at no additional cost to you. As an Amazon Associate, I earn from qualifying purchases. I only recommend products I genuinely trust and believe will bring value to my readers. Also, some of the content was created with strategic use of AI tools. For more information, please visit the Privacy Policy page. Thank you for supporting my blog and helping me continue to provide valuable content. Gardening is more than growing food—it's where God grows us. If you're hungry for a faith that feels grounded again, I wrote a book for you. Download my free eBook: Rooted in Grace: A Christian Guide to Intuitive Gardening
Are you wondering WHY seed starting is a great decision? Check out our article, 10 Compelling Reasons to Start Seeds Indoors in 2025, to get answers and inspiration!!!
Peppers are a diverse and vibrant addition to any garden, bringing bold flavors, stunning colors, and a world of culinary possibilities. Whether you’re growing sweet bell peppers for salads or fiery habaneros for homemade hot sauce, starting your own pepper seeds indoors lets you explore an array of unique varieties tailored to your taste buds. In Zone 9, with its long growing season, starting seeds indoors gives you a head start on growing healthy, productive plants. This guide walks you through the steps to grow peppers from seed, with tips for nurturing them every step of the way.
Looking for high-quality, non-GMO seeds for your garden? 🌱🌿 Shop at SeedsNow for a wide selection of heirloom vegetable, herb, and flower seeds perfect for every gardener—from beginners to experts. These seeds are fresh, reliable, and ideal for organic gardening. Click below to start growing your best garden yet! 🌼🍅🥕
1. Choosing the Right Pepper Varieties

Zone 9’s warm climate is ideal for a wide range of peppers, from sweet to sizzling hot. Here are some popular and unique varieties to consider:
| Type | Examples | Flavor/Use |
|---|---|---|
| Sweet Peppers | California Wonder, Big Red, Cubanelle | Mild and sweet; great for fresh eating |
| Mild Peppers | Anaheim, Poblano, Shishito | Slight heat; ideal for roasting or stuffing |
| Hot Peppers | Jalapeño, Serrano, Cayenne | Moderate heat; perfect for salsas and sauces |
| Superhots | Habanero, Carolina Reaper, Ghost Pepper | Extreme heat; great for hot sauce enthusiasts |
| Specialty Peppers | Banana Peppers, Thai Chili, Fish Pepper | Unique shapes, colors, and flavors |
Consider what you love to cook when selecting pepper varieties, and don’t be afraid to try something new! In Zone 9, peppers thrive when planted early in the season, so selecting varieties suited for a long growing season is key.
2. Gather Supplies

Starting pepper seeds requires the right tools and materials. Here’s what you’ll need:
| Item | Purpose |
|---|---|
| Seeds | Choose high-quality, untreated seeds |
| Seed-starting mix | Lightweight and well-draining for healthy roots |
| Seed trays/containers | Ensure drainage holes for proper moisture control |
| Heat mat | Essential for warm-season peppers to germinate |
| Grow lights | Provides sufficient light for strong seedlings |
| Spray bottle | Gentle watering without disturbing seeds |
| Plant labels | Keep track of different pepper varieties |
3. Planting the Seeds
- Prepare the Containers:
- Fill your seed trays or small pots with seed-starting mix, leaving about 1/4 inch of space at the top.
- Moisten the soil evenly before planting.
- Plant the Seeds:
- Sow pepper seeds about 1/4 inch deep and space them 1-2 inches apart.
- Cover the seeds lightly with soil, ensuring good contact without compacting.
- Label Your Varieties: Use plant labels or markers to identify the different pepper types you’re growing.
4. Create the Perfect Germination Environment

Peppers can be a bit finicky when it comes to germination, so providing consistent warmth and moisture is key.
| Condition | Requirement |
|---|---|
| Temperature | Maintain 75-85°F; use a heat mat for best results |
| Light | Not needed until seedlings emerge |
| Humidity | Cover trays with a plastic dome or cling film |
| Watering | Keep soil moist but not soggy; mist as needed |
Pepper seeds typically take 7-21 days to germinate, with hotter varieties often taking longer. Be patient, especially with superhot peppers, which are known for their slower germination times.
5. Caring for Pepper Seedlings
Once your seedlings emerge, proper care is essential for strong, healthy plants.
| Care Step | Details |
|---|---|
| Light | Provide 12-16 hours daily with grow lights |
| Temperature | Keep seedlings at 70-80°F for steady growth |
| Watering | Water gently; avoid waterlogged soil |
| Feeding | Begin fertilizing with a diluted liquid fertilizer after the first true leaves appear |
| Airflow | Use a small fan to improve circulation and strengthen stems |
Keep an eye on your seedlings for signs of stress. For instance, if leaves start curling, it could indicate overwatering or inconsistent temperatures.
Remember that the first set of leaves are not the way the plants will look. Once the first few sets of true leaves appear, the baby leaves will yellow and die off. This is normal.
6. Common Pepper Seedling Issues and Solutions
| Issue | Cause | Solution |
|---|---|---|
| Slow germination | Cool temperatures | Use a heat mat to maintain consistent warmth |
| Leggy seedlings | Insufficient light | Place seedlings under grow lights for 12-16 hours daily |
| Yellowing leaves | Overwatering or nutrient deficiency | Allow soil to dry slightly between waterings and fertilize as needed |
| Droopy seedlings | Lack of water or poor drainage | Check soil moisture and ensure proper drainage |
7. Transplanting to Larger Containers
As pepper seedlings grow, they’ll need more space to develop strong root systems. Transplant to 4-inch pots when they have 2-3 sets of true leaves.
- Prepare the Pots:
- Fill with fresh seed-starting mix or a light potting mix.
- Create a hole deep enough to bury the seedling’s root system.
- Handle with Care:
- Gently lift seedlings by the leaves, not the stem, to avoid damage.
- Water:
- Water the transplanted seedlings thoroughly to help them settle into their new containers.
8. Preparing for Outdoor Planting

In Zone 9, peppers can typically be planted outdoors in late March to early April. Hardening off your seedlings ensures they’ll adapt to outdoor conditions.
| Hardening Off Steps | Action |
|---|---|
| Start small | Place seedlings outdoors in a shaded area for a few hours each day |
| Gradually increase | Increase exposure to sunlight and outdoor conditions over 7-10 days |
| Monitor temperatures | Protect seedlings from cold nights below 55°F |
9. Pepper-Specific Growing Conditions and Pest Issues
Peppers thrive in warm, sunny conditions but require careful attention to ensure optimal growth. Here are some key points for Zone 9 gardeners:
| Growing Condition | Details |
|---|---|
| Sunlight | Peppers need 6-8 hours of direct sunlight daily |
| Soil | Well-draining, nutrient-rich soil with pH 6.0-6.8 |
| Mulching | Apply mulch to retain soil moisture and prevent weeds |
| Watering | Deep, consistent watering; avoid wetting leaves to prevent disease |
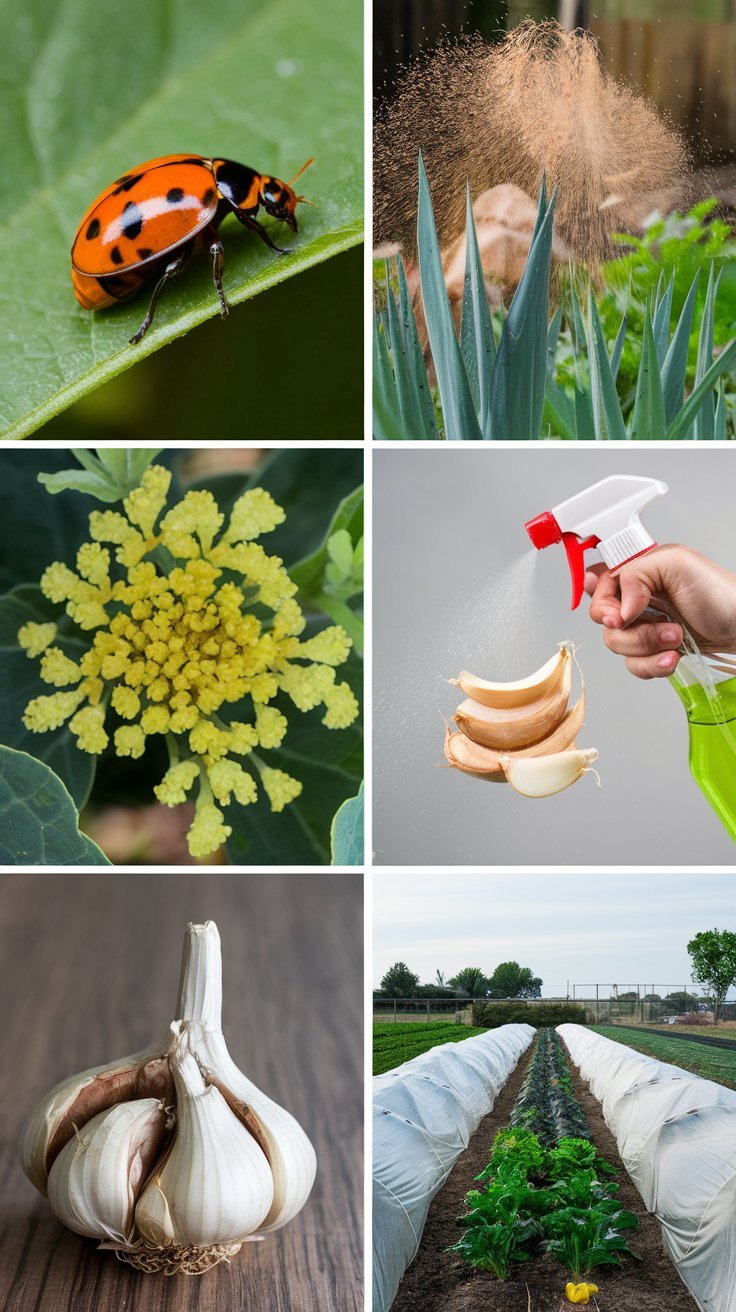
Common Pests:

Conclusion
Starting peppers from seed is a rewarding process that opens up a world of culinary possibilities. By choosing unique varieties, providing the right conditions, and caring for your seedlings with patience and attention, you’ll set the stage for a productive Zone 9 garden. Whether you’re growing sweet bell peppers, mildly spicy poblanos, or fiery habaneros, the rewards of homegrown peppers are worth every step. Get started today and watch your garden come to life with color, flavor, and heat!
For a more in-depth comprehensive guide along with tools and supplies to use, read our post, How to Start Seeds in Southern Climates.


3 Comments