Some of the links in this post are affiliate links, which means I may earn a small commission at no additional cost to you. As an Amazon Associate, I earn from qualifying purchases. I only recommend products I genuinely trust. Some content is created with strategic use of AI tools. For more information, please visit the
Privacy Policy page.
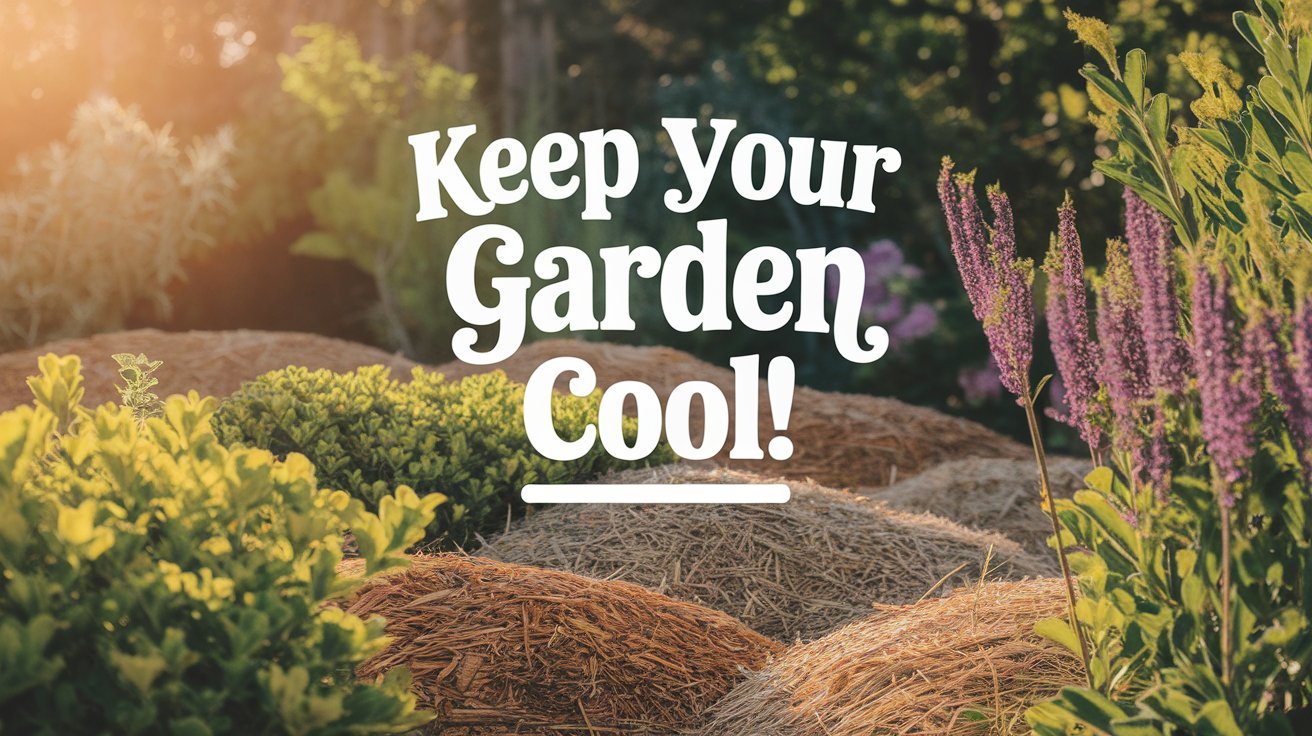
☀️ The Best Mulching Techniques for Hot Climates: Keep Your Garden Cool, Hydrated & Thriving
Let me tell you a little secret about gardening in a hot climate: mulch isn’t optional—it’s
essential. 🌞
I learned this the hard way in my early gardening days here in the Houston suburbs. I’d spend hours watering in the morning, only to find my plants wilting by midday, the soil cracking open like desert clay, and weeds popping up like they were mocking me. It was frustrating! But once I started mulching properly, everything changed. My plants stayed hydrated, my soil remained cool, and I didn’t have to fight off an army of weeds every weekend.
Hot climates are
relentless on soil. Without a protective layer, moisture evaporates faster than an ice cube on a Texas sidewalk. The roots suffer, plants struggle, and you end up working harder than necessary just to keep things alive. But here’s the truth:
mulch is your garden’s best defense against the heat—and mine too.
Not all mulch works the same way in extreme heat, though. Some materials trap too much heat, while others dry out too quickly. The key is choosing the
right mulch for the right purpose and applying it faithfully, in a way that actually helps your plants rather than suffocating them. This is where observation and intention meet the soil.
So grab your favorite
gardening gloves, and let’s dig into the best mulching techniques for hot climates—because your garden deserves a break from the heat, and so do you! 🌿
Free eBook
Rooted in Grace
A Christian guide to intuitive gardening — the whole book, free. Tell me where to send it and it’s yours in a minute.
🌡️ Why Mulching is a Game-Changer in Hot Climates
Before we dive into specific techniques, let’s talk about
why mulch matters so much when the temperatures climb. In Zone 9, where our summers stretch long and our humidity can feel oppressive, mulch becomes a faithful companion in the garden.
🔥 The Top Challenges of Gardening in Heat
When temperatures soar (and they do here in Houston), our gardens face a unique set of stressors. Let me break down what’s happening beneath the surface:
| Challenge |
What Happens |
How Mulch Helps |
| 🌞 Rapid soil drying |
Water evaporates quickly in 95°F+ heat, leaving roots thirsty within hours. |
Locks in moisture by creating a barrier that reduces evaporation by up to 70%. |
| 💨 Soil erosion & compaction |
Dry, bare soil blows away in wind or becomes hard-packed after heavy rain. |
Protects soil structure from erosion and keeps it crumbly and workable. |
| 🌱 Weed takeover |
Weeds thrive in heat, competing fiercely for water and nutrients. |
Blocks sunlight, preventing weed seeds from germinating and taking hold. |
| 🔥 Soil temperature stress |
Extreme temperatures stress plant roots and slow nutrient absorption. |
Regulates soil temperature, keeping roots cool and creating a stable environment. |
Mulch solves multiple problems at once—that’s why I call it my
garden’s superhero cape. 🦸♀️ When you understand what mulch does, you see it’s not just about making the garden look nice. It’s about creating the conditions where your plants can thrive despite the heat.
💚 A Reflection on Faithful Gardening: Mulching is an act of intention. You’re not just reacting to problems—you’re creating conditions for flourishing. In the same way, we’re invited to tend to our own lives with this kind of intentionality, observing what we need and responding with care.
🏆 The Best Mulch Choices for Hot Climates
Choosing the right mulch is half the battle. Here’s a breakdown of the best mulches for surviving our Houston heat and how to use them effectively in your garden.
1. Wood Chips & Bark Mulch – 🌳 Best for Perennials & Trees
Wood chips are a gardener’s workhorse, especially here in Zone 9. They’re long-lasting, provide excellent moisture retention, and create a protective barrier for roots. You’ll see them recommended everywhere, and for good reason.
The Upside: Wood chips break down slowly, which means you’re not reapplying mulch every season. They insulate soil beautifully and look polished in a landscape. As they decompose over 2-3 years, they feed the soil with organic matter.
The Catch: Fresh wood chips can actually
rob nitrogen from the soil as they decompose. This can temporarily weaken plants, especially if you’ve got young transplants that need all the nutrients they can get.
Best for: Fruit trees (citrus thrives under wood chip mulch here), shrubs, established perennials, and flower beds.
Pro Tip: Always use
aged wood chips instead of fresh ones. The aging process (even 6-8 weeks) allows the decomposition to begin before it touches your soil. If you’re mulching around new plantings, consider mixing aged compost into your top soil or using a balanced fertilizer to offset any temporary nitrogen draw.
2. Straw & Hay – 🌾 Best for Vegetable Gardens
If you’re growing summer vegetables in Houston’s intense heat,
straw mulch is your friend. It’s lightweight, holds moisture beautifully, and breaks down into compost season after season—feeding your soil as it works.
The Upside: Straw decomposes relatively quickly (1-2 seasons), meaning it continuously improves your soil structure. It’s also one of the most affordable mulching options. Your tomatoes, peppers, and melons appreciate the cool root zone and consistent moisture it provides.
The Catch: Straw can blow away in our spring and early summer winds. If you’re not anchoring it properly, you’ll find yourself chasing straw around the garden bed. Plus, some hay batches contain weed seeds—one neighbor’s mistake can become your summer headache.
Best for: Tomatoes, peppers, melons, cucumbers, squash, and other heat-sensitive summer crops.
Pro Tip: Water your beds thoroughly
before adding straw mulch. Moist soil helps hold the straw in place. If wind is a concern in your area, use a
fine mesh garden netting or layer cardboard underneath to keep straw from shifting. And always source
certified weed-free straw—the cost difference is minimal, but the peace of mind is priceless.
3. Pine Needles – 🌲 Best for Acid-Loving Plants
Pine needles are an underrated mulch option that works beautifully in our area, especially if you’re growing blueberries, azaleas, or other acid-loving plants that flourish in Houston’s naturally acidic soils.
The Upside: Pine needles don’t compact like heavier mulches, so they allow water and air to move freely through the soil. They’re excellent for moisture retention and have the added benefit of deterring slugs naturally. They also look attractive and smell wonderful.
The Catch: Over time, pine needles gradually make soil slightly more acidic. For acid-loving plants, this is perfect. But if you’re growing plants that prefer neutral or slightly alkaline soil, you’ll need to monitor and adjust accordingly.
Best for: Blueberries, azaleas, rhododendrons, camellias, and other acid-preferring plants. They’re also great in ornamental beds where you want a natural, woodland appearance.
Pro Tip: If you have pine trees in your yard or know neighbors who do, you’ve got a free mulch supply! Collect fallen needles in fall and early winter. They age beautifully over a few months and are ready to use by spring planting season.
4. Compost – 🌱 Best for Improving Soil Structure
Compost isn’t just mulch—it’s
feeding your garden while it protects it. In Houston’s clay-heavy soils, this matters deeply.
The Upside: As compost breaks down (which happens relatively quickly in our hot climate), it improves soil structure, increases nutrient availability, and supports beneficial microorganisms. Your vegetables and flowers will show their gratitude with better growth and production.
The Catch: Compost decomposes faster than other mulches, so you’ll need to reapply it more frequently—usually annually. It’s also typically more expensive than wood chips or straw if you’re buying it rather than making it yourself.
Best for: Vegetable gardens, flower beds, new plantings, and anywhere you want to simultaneously mulch and amend your soil.
Pro Tip: Make your own compost! Houston’s year-round growing season means you’re constantly producing garden waste. A simple
compost bin transforms kitchen scraps and yard debris into gardener’s gold. It costs almost nothing and teaches you valuable lessons about cycles and renewal.
⚠️ Watch Out: Never apply fresh mulch directly against the stems or trunks of trees and shrubs. Leave a 2-3 inch gap around the base. Mulch piled against bark creates a moist environment where fungal diseases and pests thrive. I call this “mulch volcanoes,” and they’re one of the most common mistakes I see in Houston gardens. Keep it clean, keep it intentional.
💧 How to Apply Mulch Correctly in Hot Climates
Depth Matters—Especially in the Heat
The depth of your mulch layer directly affects how well it protects your soil from the sun’s intense rays. In Zone 9, where summer temperatures regularly exceed 95°F, I recommend these depths:
For wood chips and bark mulch:
3-4 inches is ideal. This is thick enough to significantly reduce soil temperature and evaporation without suffocating plant roots or creating anaerobic (oxygen-deprived) conditions. For straw and hay:
2-3 inches is sufficient. This material is lighter and compresses more readily, so slightly less depth works well. For compost and finely textured mulches:
1-2 inches is plenty. Compost is dense and holds water well on its own, so a thick layer can actually seal the surface and keep air from moving through. A thin, even blanket does more good than a heavy one.
Whatever material you use, rake it level and pull it back from stems and trunks before you walk away. Depth is only half the job. Placement is the other half. And if wind is a problem in your yard the way it is along our fence line every spring, a handful of
landscape staples or a length of fine mesh netting laid over straw will hold it where you put it until the plants grow in and hold it down themselves.
I have learned to check depth with my hand instead of my eye. Push two fingers straight down through the mulch until you feel soil. If your fingertips hit dirt before your first knuckle disappears, the layer is too thin to protect anything through a Houston July. If your whole hand disappears before you find soil, you have gone too far, and roots that cannot breathe will tell you about it in August.
That is the quiet lesson mulch keeps teaching me. Protection is not the same as burying something. Enough covering to keep the heat off, and enough openness to let air and water reach what is growing. I want to learn to tend the people I love that way too.
🌡️ The Mulch & Moisture Connection: Understanding Heat’s Impact on Water Retention
Here in Houston, I’ve learned that mulching isn’t just about creating a prettier garden—it’s about fundamentally changing how water behaves in your soil. When temperatures climb above 95°F, which happens regularly from June through September, bare soil loses water at an alarming rate. But the moment you add mulch, something shifts.
Think of mulch as a thermal blanket for your soil. Without it, the sun’s rays penetrate directly into the ground, heating the top few inches to temperatures that can actually damage beneficial soil microorganisms and stress plant roots. Mulch intercepts that heat, keeping soil temperatures 10-15°F cooler than unmulched ground. In practical terms, this means your plants need less water to stay hydrated, your watering schedule becomes more manageable, and you’re not constantly battling wilting despite daily irrigation.
The timing of when you apply mulch also matters in our climate. I typically refresh or add mulch in late spring (around May) before the worst heat arrives, and again in early fall (September) as our second growing season kicks in. If you wait until July or August when temperatures are at their peak, you’re already behind. The soil has baked, organic matter has broken down faster due to heat stress, and plants have already struggled. Getting ahead of the heat with mulch is far easier than trying to recover from heat damage.
One thing I’ve noticed over years of gardening here is that mulch also stabilizes soil moisture in a way that bare soil simply can’t. When you get those sudden intense downpours Houston’s known for, mulched beds absorb water more evenly rather than allowing it to run off or create erosion. The mulch acts as a buffer, letting water percolate slowly into the soil where roots can actually use it, rather than racing past thirsty plants toward storm drains. This is especially valuable if you’re growing in raised beds or amended soil that tends to dry out faster than native ground.
Seasonal Mulch Adjustments for Zone 9’s Extended Growing Season
One aspect of Houston gardening that catches people off guard is how long our growing season actually lasts. We don’t really have a hard winter like northern gardeners do. That means your mulch strategy can’t be a one-and-done spring task—it needs to evolve with the seasons.
In late winter and early spring (February through April), when we’re planting cool-season crops like lettuce, peas, and root vegetables, lighter mulch layers work well. You want soil to warm up enough for these plants to grow, so backing off slightly on mulch depth allows more solar warmth to reach the soil. Once things transition in May and we shift to summer crops—tomatoes, peppers, squash—I increase mulch depth and refresh it generously. This is when protection from heat becomes critical.
By August and September, as our summer heat starts to moderate slightly and we’re planning fall gardens, I’ll reassess my mulch. Some of the summer mulch has already broken down (which is good for soil), but plants are also stressed from months of heat. Light cultivation to remove old, compacted mulch, followed by fresh application, gives fall plantings a clean slate. It’s like tucking your garden in for a new season.
Winter (December through January) is our quieter time, but mulch still matters. Even though temperatures are mild, we occasionally get freezes that can damage tender plants. A consistent, stable mulch layer helps insulate roots during these rare cold snaps. I don’t add extra mulch for winter unless I’m specifically protecting tender perennials or newly planted evergreens from frost stress.
Reading Your Soil: When to Refresh vs. When to Let It Be
Not every season requires completely new mulch. Over my years gardening in the suburbs, I’ve learned to read what my soil is telling me, and you can too. The key is observation—one of the most valuable skills any gardener can develop.
When you dig into your mulch layer and find it’s dark, crumbly, and breaking apart easily, that’s mulch that’s actively decomposing. This is
good—it means it’s feeding your soil. You don’t need to remove it immediately. Instead, add a fresh 1-2 inch layer on top. This gives you the benefits of the decomposing mulch below (enriching soil structure and feeding microorganisms) while maintaining that protective barrier on top.
However, if you notice your mulch has become matted, compacted, or is starting to smell like vinegar or fermentation, that’s a sign it’s too dense and moisture is creating anaerobic conditions. This sometimes happens in our humid Houston summers when mulch gets packed down by rain and heat. In these cases, it’s worth gently turning it with a fork to aerate it, or removing the top layer and replacing it with fresh material. Trust your senses—healthy mulch smells earthy and pleasant, like a forest floor.
Shop This Post
What I actually keep on hand for mulching through a Houston summer. Nothing here is fancy. It is just what holds up when the heat sets in and stays.
- Cedar Bark Mulch
Slow to break down and steady under fruit trees, shrubs, and established perennials.
- Certified Weed-Free Garden Straw
The vegetable-bed workhorse, and worth paying for the weed-free label.
- Long Needle Pine Straw Mulch
Light, airy, and ideal around blueberries, azaleas, and camellias.
- Organic Compost
Mulch that feeds while it protects, which is the answer to our heavy clay.
- Fine Mesh Garden Netting
Laid over straw, it keeps spring wind from scattering your morning of work.
- Landscape Staples
Cheap, simple, and the difference between mulch staying put and blowing off.
- Dual-Chamber Tumbling Compost Bin
Turns kitchen scraps into your own free mulch, year-round in Zone 9.
- Gardening Gloves
Because spreading a yard of mulch bare-handed is a lesson you only need once.
These are affiliate links. If you buy through them, I may earn a small commission at no extra cost to you, and I only ever link to things I would actually put in my own garden shed.
Ready to Go Deeper in the Garden?
If this article resonated with you, you might be ready for something more than tips.
“The garden is not just a place to grow plants – it is a place to grow yourself.”
Free eBook
Before you go — the book is yours
Rooted in Grace: A Christian Guide to Intuitive Gardening. No cost, no catch. Read it on any device, at whatever pace the season allows.



3 Comments