
Clearing Summer Beds for Fall Planting
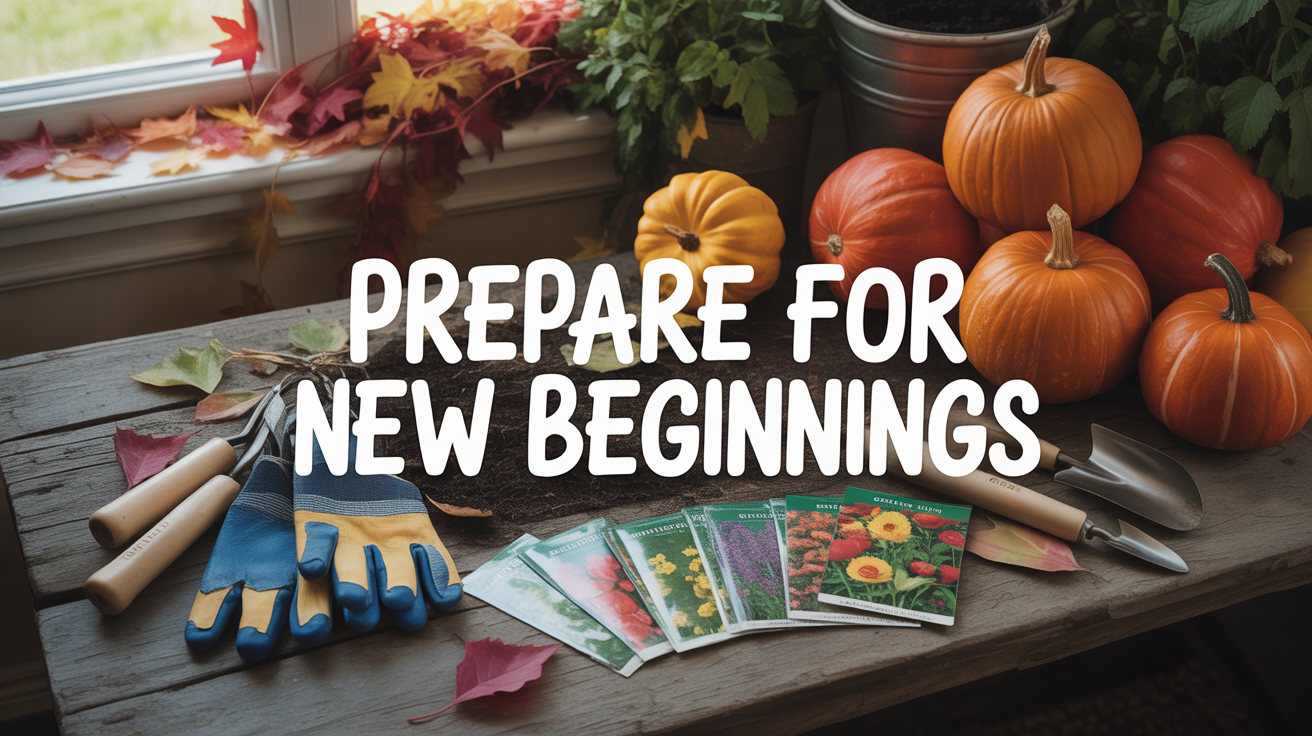
Clearing Summer Beds for Fall Planting: A Season of Letting Go and New Beginnings
There’s something sacred about the work of clearing a summer garden bed. It’s not just tidying up—it’s a gentle surrender. We stand amid the dried vines, the yellowed stems, the tomato plants that once burst with promise, and we acknowledge: this season has given what it could. Now it’s time to let go.
In our Houston gardens, especially in Zone 9, this turning point usually arrives in mid to late August, when the relentless summer heat finally loosens its grip. The peppers still produce, yes, but more slowly. The basil bolts faster than we can pinch it back. The okra grows tougher by the day. And that’s exactly when the garden whispers it’s time to prepare for fall—for the cooler months ahead when we’ll plant our greens, our root crops, our cool-season herbs that thrive in our subtropical autumn.
But before we dream of crisp lettuce and tender spinach, we must first clear away what summer left behind. And here’s the spiritual truth woven through this work: sometimes we must release what’s run its course to make space for what’s next. Both in soil and in our hearts. 🌱
Free eBook
Rooted in Grace
A Christian guide to intuitive gardening — the whole book, free. Tell me where to send it and it’s yours in a minute.
Why This Work Matters: The Hidden Cost of Skipping This Step
I understand the temptation to simply plant around the spent summer crops. It feels efficient. Why pull up a pepper plant when you could just drop a lettuce seedling next to it? But I’ve learned—through both my own mistakes and the wisdom of gardeners who’ve gone before—that clearing intentionally protects the health of everything that follows.
Sanda’s Zone 9 Note: Our Houston climate is a double-edged sword. The humidity that makes our summers so challenging means pests and fungal diseases thrive year-round if given a host plant. Clearing spent summer crops isn’t optional here—it’s foundational to breaking pest cycles before cool season plants arrive vulnerable and tender.
When we thoughtfully clear our beds, several protective things happen:
We interrupt pest cycles. Whiteflies, spider mites, and hornworms overwinter on host plants. Pull up that final August tomato, and you’re removing their nursery before they settle in for the season.
We stop disease from spreading. Early blight, powdery mildew, and root rot pathogens live in plant debris and soil. Removing diseased material now, before our tender fall seedlings go in, is an act of prevention that’s worth weeks of fighting infections later.
We refresh the soil’s energy. Summer crops exhaust the soil—they’re hungry plants in a hungry season. Before fall planting, we have a window to add compost, adjust pH if needed, and let the earth rest and rebuild itself.
We improve light and airflow. In Zone 9, humidity hangs heavy through fall. A cleared bed with good air circulation helps prevent the fungal issues that plague our cool-season crops when they’re crowded.
We create mental and physical space for dreaming. There’s something about seeing bare soil that invites imagination. What will we grow? How will we arrange it? The clearing itself becomes part of the planning.
Understanding the Houston Timing: When to Clear, What to Keep
The calendar matters in gardening, but so does observation. In our Houston gardens, mid-August through September 1st is typically when we begin the transition work. But here’s the intuitive gardening framework at work: observe first, then respond.
Take a slow walk through your beds. Which plants are still producing? I always find a few peppers worth keeping—pepper plants can produce well into November here if they’re still healthy. Some herbs like basil and oregano might continue another few weeks. Note which plants are genuinely thriving versus which are simply surviving.
Which plants are showing decline? Yellowing leaves (beyond normal aging), black spots, wilting even after watering, pest damage that’s spreading—these are your candidates for removal. Trust what you see.
The beautiful practice of seed-saving often happens during this clearing work. Before you pull that stellar okra plant or the basil that outperformed all others, look for mature seeds. A few minutes of seed collection connects you directly to the rhythm of seasons—you’re literally carrying summer’s abundance into next year. Store seeds in a cool, dry place in a labeled envelope, and you’ve just preserved a piece of your garden’s story.
Step-by-Step: The Clearing Process with Intention
1. Assess and Document
Before pulling a single plant, spend time observing. Walk your beds. Notice what thrived and what struggled. If you keep any kind of garden journal or notes, jot down the performers—both the stars and the disappointments. This simple act of reflection helps you learn what works in *your* particular corner of Houston, not just what works in theory. Next year’s planting will be wiser because you took time to really see what happened this year.
2. Remove Spent Crops Gently
When it’s time to remove a plant, I prefer to cut rather than yank. Use sharp pruners to cut the plant at soil level. This keeps the root structure intact—those roots will break down in the soil, feeding microbes and improving structure. Pulling violently can damage the soil and disrupt the underground ecosystem you’re trying to build.
There’s a gentleness in this approach that matters. In the garden and in life, sometimes cutting cleanly away is kinder than wrenching something out by force.
3. Sort for Compost and Disposal
Here’s where your decision-making matters. Healthy plant material—stems with no disease, leaves that are simply aged, pod debris—goes to compost. This material is treasure. It’s carbon and nutrients waiting to feed your soil.
Sanda’s Garden Wisdom: Never compost diseased plant material, insect-infested stems, or weeds gone to seed. In our humid Zone 9 climate, many home compost piles don’t reach the temperature needed to kill pathogens. Bag and remove these materials from your property instead. It’s the safest choice.
Diseased material? Black spots, powdery residue, wilting that suggests fungal or bacterial issues? These go into a sealed bag and out to the curb. Breaking disease cycles now prevents heartbreak later.
4. Tackle Weeds Before They Become Tomorrow’s Problem
August and September are when weeds are preparing to drop seeds for fall and spring germination. Now is the time to be thorough. Hand-pull weeds, making sure to get the root. For stubborn or invasive species, consider solarization: cover the cleared bed with clear plastic for 2-3 weeks in the heat. The sun’s energy concentrates under the plastic, heating the soil and killing weed seeds and some pathogens. In Houston, this works beautifully—our August sun is intense enough to do the job quickly.
5. Aerate and Amend the Soil
Once beds are cleared, take a cultivator or broad fork and gently loosen the soil without turning it completely. We’re not looking to bury layers or disturb the structure—just creating pockets of air and water penetration.
This is the moment to add compost. Work 2-3 inches of finished compost into the top 6-8 inches of soil. In our heavy Houston clay, this amendment is transformative. It improves drainage, adds nutrients, and feeds the microbes that make soil alive and responsive.
What Goes Where: A Quick Reference Guide
| Plant Material | Action | Zone 9 Timing |
| Healthy stems, leaves, pod debris | Add to compost bin | Ongoing through clearing |
| Diseased foliage, black spot, powdery mildew | Bag and dispose off-property | Immediately—don’t delay |
| Pest-infested plants (whitefly, mites, hornworms) | Bag and dispose off-property | Before pests migrate |
| Weeds (any stage) | Hand-pull or solarize area | Mid-August before seed set |
| Mature seeds from best plants | Harvest, dry, label, store | Before removing plant |
| Cleared soil (after cleanup) | Amend with 2-3″ compost | Before fall planting (by Sept 1) |
The Emotional Work: Letting Go to Welcome What’s Coming
I want to acknowledge something that doesn’t always get mentioned in gardening advice: clearing a summer bed can feel bittersweet. You remember the first ripe tomato. The shade of the bean trellis on a blistering July afternoon. The bees hovering over basil blooms. There’s a small grief in releasing that.
But here’s what I’ve learned: grief and anticipation can coexist beautifully in a garden. We can honor what summer gave us *and* get excited about what fall will bring. That cleared bed isn’t empty—it’s full of possibility. It’s an invitation to dream again about what we’ll grow, how we’ll arrange our space, what flavors and textures we’ll harvest when the weather turns cool.
The letting go is what makes the welcoming possible. 🍂
Your Zone 9 Timeline: Making It Real
For Houston-area gardeners, here’s a practical calendar to guide your clearing work:
| When | What to Do |
| Mid-August | Begin observing which plants are declining; collect seeds from strong performers |
| Late August | Pull diseased and failing plants; begin |
When Timing Meets Trust: Reading Your Garden’s True Signals
Here’s something I’ve noticed after years of gardening in Zone 9: the calendar is a suggestion, but your garden is the actual authority. Yes, mid-August is generally when Houston gardeners begin clearing, but the real signal comes from observing your specific plants in your specific microclimate.
Maybe your peppers are still thriving because you’ve got afternoon shade. Maybe your tomatoes are already showing early blight because your bed stays perpetually humid. Maybe your basil bolted early because it’s in full sun, or it’s hanging on because it’s under shade cloth. The work of clearing isn’t about following a date—it’s about reading what’s actually happening in front of you.
This is intuitive gardening at its heart: observe, reflect, respond. Walk your beds in early morning when everything is calm. Look for the subtle signs that a plant has given what it can. Yellowing leaves that aren’t the normal aging of lower foliage. Slowed growth despite water and heat (which would normally accelerate growth). Pest populations that are increasing rather than stabilizing. Disease symptoms spreading rather than staying contained. These are the whispers that tell you a plant is ready to release.
I often tell gardeners: don’t clear your bed just because the calendar says August 15th. Clear it because you’ve observed that your okra is toughening, your basil is bolting faster than you can harvest, your tomatoes are showing stress. This attentiveness—this real relationship with your garden rather than a mechanical following of rules—is what transforms you from someone who gardens into a gardener.
The Hidden Gift in the Clearing: Building Soil Resilience for Fall
One of the most underappreciated aspects of clearing summer beds is what it does for your soil’s ability to welcome fall crops. Our Houston clay is heavy and often compacted by summer’s intensity. Intense heat, heavy watering, the weight of a full season’s production—all of this presses the soil down. When we clear a bed and add fresh compost, we’re not just adding nutrients; we’re creating a soil environment that’s actively welcoming to the tender transplants and seeds we’ll be putting in soon.
Think about what your fall crops need. Lettuce, spinach, kale, cabbage seedlings—these are delicate compared to heat-loving peppers and okra. They need soil that’s alive with beneficial microbes, that drains well (our Houston clay drains poorly without amendment), and that has enough organic matter to hold moisture without holding it *too* much, which causes the root rot and fungal issues that plague cool-season gardens here.
When you clear thoughtfully and amend properly, you’re essentially rebuilding the soil’s capacity to support a completely different season of growth. It’s like preparing your body for a new season of activity—you wouldn’t run a marathon without preparing, and you wouldn’t plant delicate fall greens in unimproved, depleted summer soil. The clearing work is your preparation.
In our Zone 9 climate, I recommend working in 2-3 inches of finished compost mixed with a bit of aged bark mulch—this combination improves both structure and moisture retention without creating the anaerobic conditions that heavy clay can develop. If your beds tend toward compaction, consider adding a small amount of perlite or coarse sand (about 10-15% by volume) to improve drainage further. You’re building a welcome for the season ahead.
Seeds, Succession, and the Gift of Observation
Before you pull that final basil plant, that last okra that set seed, pause and look for mature seeds. This act—harvesting seeds from your own garden—connects you to something ancient and real. You’re literally choosing which plants’ DNA you want to propagate forward. You’re voting with seeds for the varieties and traits that thrived in *your* garden, in *your* corner of Houston, in *your* specific conditions.
A single basil plant can give you dozens of seeds. An okra plant that thrived might offer you 50+ pods worth of seeds. A pepper that bore abundantly is telling you something through its own growth: “I like this spot, this moisture level, this amount of sun.” When you collect and save those seeds, you’re honoring that message and building toward next year’s garden being even more attuned to your land.
Store seeds in a cool, dry place—a drawer inside rather than a shed, ideally. A small envelope, clearly labeled with the variety and date, keeps them organized. Many garden seeds remain viable for 3-5 years if stored properly. As you’re clearing in August, seed-saving transforms a task that might feel like loss into an act of creation and foresight.
Sanda’s Tip: Okra and basil seeds are among the easiest to save for beginning seed-savers. Wait until the seed pod is brown and papery-dry on the plant, then harvest it and let it finish drying indoors on a paper plate for another week. Split open the dried pod, remove the seeds, and store them. You’ve just created free seeds for next year and learned something irreplaceable about your garden.
The Spiritual Practice Hidden in the Practical Work
🛒 Shop This Post
What I reach for between pulling the last summer crop and setting the first fall transplant. Most of it you already own; the broadfork is the one worth adding.
- Fiskars Bypass Pruning Shears
Cut spent crops at soil level instead of yanking. The roots stay in and feed the bed.
- Walensee Broadfork
Loosens a cleared bed without inverting the layers. This is the tool that replaces tilling.
- VNIMTI 4-Tine Garden Fork
The lighter option for working amendments into a bed you have just emptied.
- R&M Organics Compost
Summer crops leave the soil hungry. This goes in before anything else does.
- HealthiStraw Garden Straw
Cover the cleared bed while it waits. Bare soil in August bakes hard and grows weeds.
- Mklsit 40% Shade Cloth
For the stretch when beds are cleared but it is still too hot to transplant into them.
- HANDLANDY Long Gardening Gloves
Clearing out diseased summer growth is exactly when you want sleeves and real gloves.
These are Amazon affiliate links. If you buy through them I earn a small commission at no extra cost to you — and I only link gear I actually use in my own Zone 9 garden.
Ready to Go Deeper in the Garden?
🛒 Shop This Post
What I reach for between pulling the last summer crop and setting the first fall transplant. Most of it you already own; the broadfork is the one worth adding.
- Fiskars Bypass Pruning Shears Cut spent crops at soil level instead of yanking. The roots stay in and feed the bed.
- Walensee Broadfork Loosens a cleared bed without inverting the layers. This is the tool that replaces tilling.
- VNIMTI 4-Tine Garden Fork The lighter option for working amendments into a bed you have just emptied.
- R&M Organics Compost Summer crops leave the soil hungry. This goes in before anything else does.
- HealthiStraw Garden Straw Cover the cleared bed while it waits. Bare soil in August bakes hard and grows weeds.
- Mklsit 40% Shade Cloth For the stretch when beds are cleared but it is still too hot to transplant into them.
- HANDLANDY Long Gardening Gloves Clearing out diseased summer growth is exactly when you want sleeves and real gloves.
These are Amazon affiliate links. If you buy through them I earn a small commission at no extra cost to you — and I only link gear I actually use in my own Zone 9 garden.
If this article resonated with you, you might be ready for something more than tips.
- Download the FREE Rooted in Grace eBook
- Get the Rooted in Grace Print Book on Amazon
- Join Rooted Reset
- Follow on Instagram – @southernsoils
- Save on Pinterest – @southernsoilsunshine
- Join on Facebook – Southern Soil Sunshine
“The garden is not just a place to grow plants – it is a place to grow yourself.”
Free eBook
Before you go — the book is yours
Rooted in Grace: A Christian Guide to Intuitive Gardening. No cost, no catch. Read it on any device, at whatever pace the season allows.



5 Comments