Fall Garden Tool Maintenance Guide
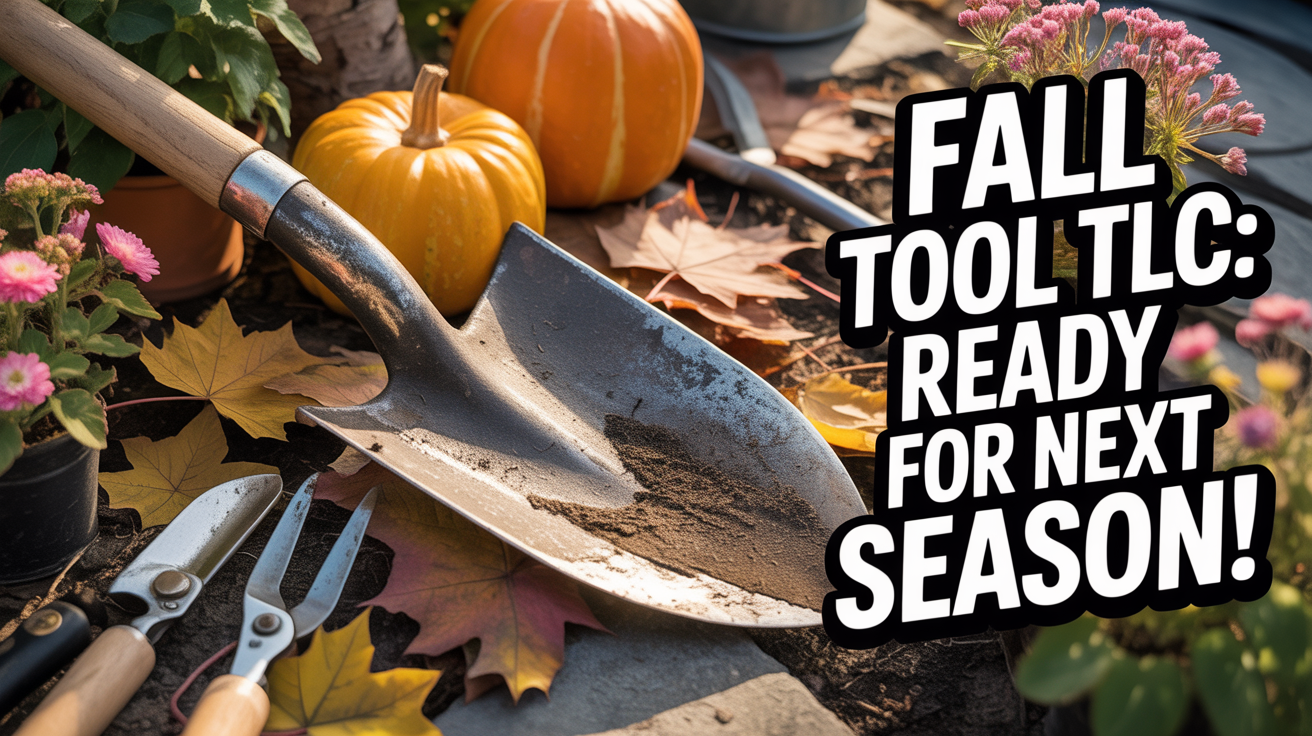
Fall Garden Tool Maintenance Guide: Small Acts of Stewardship 🛠️
Our gardens often remind us that stewardship isn’t only about the big tasks—it’s also about the small, quiet acts of care. Sharpening a blade, oiling a handle, or hanging tools neatly at season’s end may seem minor, but these habits preserve the gifts we’ve been entrusted with. In the same way, our spiritual lives are strengthened when we tend to the seemingly small disciplines—prayer, gratitude, acts of kindness. Both in the garden and in our hearts, faithful maintenance keeps us ready for the next season’s work.
Free eBook
Rooted in Grace
A Christian guide to intuitive gardening — the whole book, free. Tell me where to send it and it’s yours in a minute.
Why Fall is the Best Time for Tool Maintenance in Zone 9 🌱
Here in Houston’s humid subtropical climate, fall offers us a natural pause between the intense heat of summer and the busy planting season ahead. As our gardens catch their breath in October and November, it’s the perfect moment to tend to our tools. This isn’t just practical wisdom—it’s part of how we honor what we’ve been given.
Sanda’s Zone 9 Note: In our Houston area, fall maintenance is especially important because our winter moisture (even if mild) can accelerate rust on metal tools. Plus, we jump right into spring planting by February, so having tools ready now means less stress when those first warm days arrive!
Maintaining tools now offers several gifts for the season ahead:
| Benefit | Why It Matters for Our Gardens |
| Extending Tool Life 🪵 | Cleaning and protecting from rust keeps tools functional for years, saving both money and resources |
| Saving Money 💰 | Well-maintained tools don’t need frequent replacement—good stewardship of our budgets |
| Preventing Disease Spread 🦠 | Removing plant debris prevents pathogens like fusarium and bacterial wilt from carrying into next season |
| Reducing Spring Workload 🌿 | Sharp, ready-to-use tools make spring planting smoother when we’re eager to plant tomatoes and peppers |
| Honoring Stewardship ✨ | Caring for what we have aligns with faithfulness in little things—a spiritual practice rooted in gratitude |
Your Step-by-Step Fall Tool Maintenance Journey ✂️
Step 1: Gather Your Tools
Take an afternoon to round up everything—hand tools, pruning shears, shovels, hoes, watering cans, and even small irrigation parts. I like to do this on a warm November day when the garden feels calm. Pull tools from the shed, lean-to, and garage corners. You’ll likely find forgotten treasures tucked away. This gathering itself is a kind of meditation, a way of remembering what you’ve worked with all season.
Step 2: Remove Soil and Debris
Use a stiff brush to scrub off dried soil and plant material. Here in Houston’s humidity, we often have clay-heavy soil that sticks stubbornly to blades and handles. Don’t skip this step—dried soil traps moisture against metal and wood, inviting rust and rot.
For stubborn dirt, rinse with water and dry thoroughly. I use old cotton cloths for drying because they’re absorbent and reduce water spots. Pay special attention to crevices where tool head meets handle, where moisture loves to hide.
Step 3: Disinfect Cutting Tools
This step is crucial for preventing disease in next year’s garden. Mix one part bleach to nine parts water, or use 70% rubbing alcohol—whichever you prefer. I find rubbing alcohol gentler on my hands and the environment, but both work well.
Dip or wipe blades thoroughly to kill any lingering plant pathogens that may have settled there during the growing season. Rinse completely and dry before storage. This simple act of cleansing feels almost ceremonial—like preparing for a fresh start.
Sanda’s Garden Wisdom: If you’ve dealt with powdery mildew, root rot, or any fungal issues this year, be extra diligent with disinfection. Our warm, humid Houston climate is perfect for disease spread, so cleaning tools thoroughly now protects next season’s seedlings.
Step 4: Sharpen Blades
A sharp blade is a gift to your plants. Dull tools crush and tear, damaging tissue and inviting disease. I use a medium sharpening stone for most hand tools and a file for larger shovels and hoes.
Maintain the original bevel on your tools—study the angle before you begin. For pruners, keep that 30-40 degree angle on the sharp blade. Test sharpness by cutting a scrap of paper or thin cardboard. If it glides through cleanly, you’re ready. If it requires pressure, keep sharpening.
Step 5: Oil Metal Parts
Apply light machine oil or mineral oil to metal surfaces. A few drops on the pivot points of pruners, along the edges of shovels, and on any moving parts will go a long way. Wipe off excess to avoid sticky residue that collects dust during storage.
This is especially important before our Houston winter. Even though freezing temperatures are rare, the damp air during January and February can bring rust quickly to unprotected metal.
Step 6: Condition Wooden Handles
Sand any rough or splintered spots on handles—nothing worse than a splinter mid-gardening! Use medium-grit sandpaper and work with the grain. Then rub handles with linseed oil to preserve the wood, improve grip, and keep them from drying out and cracking.
This is one of my favorite steps because it leaves tools smelling wonderful and feeling cared for. A well-maintained handle is a joy to use.
Step 7: Check and Repair
Tighten loose screws and bolts on hoe heads, shovel connections, and tool clamps. Replace worn springs in pruners—they’re usually inexpensive and make a huge difference in cutting efficiency. If a handle is cracked beyond sanding repair, this is the time to replace it or retire the tool gracefully.
Patch small holes in watering cans with epoxy or replace nozzles as needed. I keep a small collection of hardware and replacement parts in a labeled box so repairs are simple when I notice them.
Step 8: Organize Storage
Hang tools to keep edges off the ground, where they invite rust and moisture. A simple pegboard in your shed or garage works beautifully. Keep smaller items like pruners, dibbles, and labels in labeled bins or baskets so spring cleanup is quick and easy.
Good organization is part of good stewardship. When you can see what you have and reach it easily, you use your tools better and maintain them more consistently.
Step 9: Maintain Irrigation Supplies
Drain hoses completely to prevent cracking from any unexpected freezes. Even though Houston rarely sees hard freezes, our hoses trapped water can expand and split. Coil neatly and hang in a dry spot—a large nail on a shed wall works perfectly.
Clean filters or drip emitters before storing. If you’ve had any clogs during the season, now’s the time to flush the system with clean water before putting everything away.
Step 10: Keep a Maintenance Log
This is the step many of us skip, but I promise it saves time come spring. Record what’s been cleaned, sharpened, or repaired. Note anything that needs replacement. A simple notebook or digital note on your phone is perfect.
When February arrives and you’re eager to start planting, you’ll open this log and know exactly which tools are ready to go. You’ll also spot patterns—like if a particular tool breaks yearly, maybe it’s time to invest in something sturdier.
Seasonal Touch-Ups Throughout the Year 🌿
Fall maintenance sets you up well, but tools need love beyond autumn. Clean pruners after each major use to prevent disease spread—I keep a cloth and rubbing alcohol handy in my shed. After working in wet conditions, wipe metal tools dry. These small mid-season touch-ups keep tools efficient year-round and extend the life of your investment.
The Tool Maintenance Checklist 🧰
| Task | Materials Needed | Timing |
| Remove soil and debris | Stiff brush, bucket, water, cloth | October-November |
| Disinfect cutting tools | Bleach or 70% rubbing alcohol, water | October-November |
| Sharpen blades | Sharpening stone or file | October-November |
| Oil metal parts | Light machine or mineral oil, cloth | October-November |
| Condition wooden handles | Sandpaper, linseed oil, cloth | October-November |
| Check and repair | Screwdriver, replacement parts | October-November |
|
Sanda’s Tip: Keep a simple notebook with purchase dates and maintenance records for your most-used tools. When you’re deciding whether to repair or replace something, you’ll have actual history to guide you. Plus, there’s something satisfying about seeing a tool’s story written down—proof of seasons well-lived. Creating a Tool-Care Rhythm That Fits Your Life 🌿I’ve learned that perfect maintenance matters less than consistent maintenance. Some years, I’ve had grand plans to spend an entire Saturday overhauling every tool with professional-level precision. Those plans rarely happen. Life gets busy. Fall runs into winter. Spring arrives before we’re ready. So I’ve built a simpler rhythm that actually sticks. In October, I do the big work—the cleaning, sharpening, and oiling that sets tools up for months ahead. Then, throughout the colder months when garden work slows, I do tiny touch-ups. A wipe-down here, a resharpen there, a quick check on storage organization. By spring, tools are ready without the pressure of a massive maintenance sprint. This approach mirrors how I’ve learned to approach spiritual practices, too. Big quarterly retreats are beautiful, but the real transformation happens in small, repeated acts. A few minutes of prayer most mornings matters more than sporadic long sessions. Regular acts of kindness shape character more than occasional grand gestures. The same is true with tools: consistent, small care beats occasional intensive effort. The beautiful thing about living in Zone 9 is that our gardening season is so generous. We have months to work with our hands in the soil, to observe and respond to what our plants need. Tools are the bridge between intention and action. When we maintain them faithfully, we’re honoring not just the tools themselves but the work they help us do—the work of growing, nurturing, and tending what we’ve been entrusted with. That’s stewardship in its truest form. Ready to Go Deeper in the Garden?If this article resonated with you, you might be ready for something more than tips.
“The garden is not just a place to grow plants – it is a place to grow yourself.” Free eBook Before you go — the book is yours Rooted in Grace: A Christian Guide to Intuitive Gardening. No cost, no catch. Read it on any device, at whatever pace the season allows. |