
How to Set Up Drip Irrigation for Your Home Garden (Without Losing Your Mind or Flooding the Tomatoes)

Some of the links on this website are affiliate links, which means that if you make a purchase through these links, I may earn a small commission at no additional cost to you. As an Amazon Associate, I earn from qualifying purchases. I only recommend products I genuinely trust and believe will bring value to my readers. Also, some of the content was created with strategic use of AI tools. For more information, please visit the Privacy Policy page. Thank you for supporting my blog and helping me continue to provide valuable content. Gardening is more than growing food—it's where God grows us. If you're hungry for a faith that feels grounded again, I wrote a book for you. Download my free eBook: Rooted in Grace: A Christian Guide to Intuitive Gardening
I used to think drip irrigation would solve all my problems in the garden. I was tired, overwhelmed, and convinced that better tools would make me a better gardener. But standing ankle-deep in tomato runoff, I realized something deeper: gardening isn’t just about fixing—it’s about paying attention. That was the moment I began learning to listen first, then install.
Drip irrigation can feel intimidating—especially if you’ve ever found yourself knee-deep in tangled tubing or soaking wet from a fitting that popped off midstream…
Fast forward a few seasons, and now I have a simple drip system that basically waters the garden for me—and honestly? It changed everything. Less stress. Less water waste. And my plants? Thriving. 🌱
So if drip irrigation has been on your “maybe someday” list, let’s move it to “this weekend.” Here’s how to do it—step-by-step, beginner-friendly, and backyard-tested.
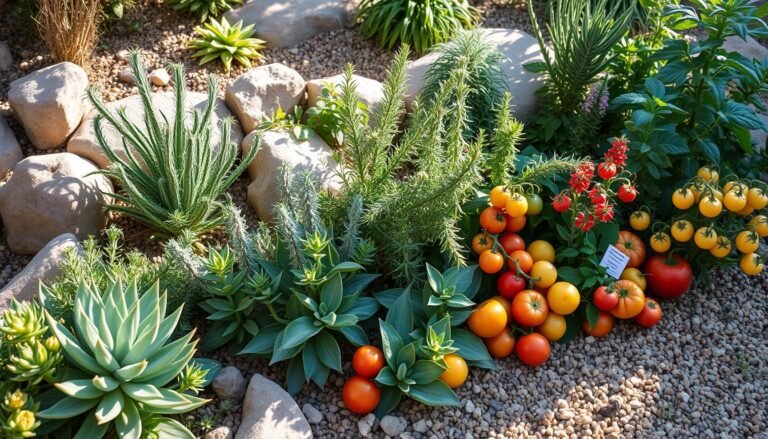
🌿 What Is Drip Irrigation? (And Why It’s Garden Gold)
Drip irrigation is a way to deliver water slowly and directly to your plants’ roots using a network of tubes and emitters. Unlike sprinklers, which waste water through evaporation and runoff, drip gives your plants exactly what they need—no more, no less.
Benefits at a Glance:
| ✅ Perk | 💡 Why It Matters |
|---|---|
| Water savings | Uses 30–50% less than sprinklers |
| Healthier plants | Prevents overwatering & leaf disease |
| Weed control | Only waters your plants, not the random ones |
| Less work | Set it and forget it with a timer |
🧰 What You’ll Need (And What Each Thing Actually Does)
Let’s keep this easy. Here’s your no-fuss starter kit:
| Item | What It Does |
|---|---|
| Hose bib/spigot | Your water source |
| Backflow preventer | Keeps dirty water from backing into your pipes |
| Filter | Catches debris so nothing clogs your lines |
| Pressure regulator (15–25 psi) | Prevents blowouts from high water pressure |
| 1/2″ tubing | The “main artery” of your system |
| 1/4″ tubing | Branches off to individual plants |
| Emitters or drip tape | The magic bit that lets water drip out |
| Hole punch | For adding emitters where you want them |
| Stakes & connectors | Holds things in place and makes turns |
| Optional: timer | Saves your sanity (and your schedule) ⏱️ |

🛠️ Step-by-Step: Setting Up Drip Irrigation in One Afternoon
1. Sketch Your Garden Plan 📝
Grab a notebook and sketch your beds, rows, or containers. Count how many plants you’ll water and where they are—it doesn’t have to be perfect. You’re just giving yourself a roadmap.
2. Lay Out the Main Line (1/2″ Tubing)
Run it along the length of your bed or garden area. Keep it tidy but don’t stress if it wiggles a little—it’s tubing, not plumbing.
3. Punch Holes and Insert Emitters
Use the hole punch to make a small hole where you want water to drip, then push in your emitter or 1/4″ tubing with an emitter at the end. Pro tip: warm the tubing in the sun for easier insertion.
4. Stake It Down
Use landscape staples or stakes to keep the tubing in place. You don’t want it wandering off during a windstorm or weeding session.
5. Attach the Filter, Pressure Regulator, and Backflow Preventer at the Faucet
This part sounds fancy but takes 2 minutes. They screw together like Legos. This combo protects your system and makes it last.
6. Test Your System
Turn it on and check for leaks or disconnected lines. Walk around and make sure each emitter is dripping. No gushing = success.
7. Optional but Recommended: Add a Timer
Set it for early morning and let it run 20–30 minutes, 2–3 times per week. It’s like having a garden butler. 💧
🧠 Real-Life Tips From My Own Backyard
- Start small. I did one raised bed at first, then expanded the system over time. No need to do the whole yard at once.
- Use mulch over tubing. It keeps the sun off and helps prevent algae in the lines.
- Different emitters for different needs. Tomatoes like a slow drip, leafy greens like more volume. Use 1 GPH or 2 GPH emitters accordingly.
- Label zones if you have more than one bed. Saves you headaches later.
- Flush lines every season. Keeps everything flowing smoothly.
❌ Common Drip Irrigation Mistakes (and How to Fix Them)
| Mistake | What Happens | Fix |
|---|---|---|
| Too much pressure | Tubing pops, leaks | Use a 15–25 psi regulator |
| Emitters not dripping | Clogged or blocked lines | Flush lines and clean filter |
| Plants wilting or waterlogged | Uneven emitter placement | Adjust flow and spacing |
| Tubing won’t stay put | Floppy mess | Use more stakes or cover with mulch |
🧽 Maintenance Checklist
✔️ Check emitters monthly
✔️ Clean the filter every season
✔️ Flush lines twice a year (or after using hard water)
✔️ Watch for leaks or disconnected pieces
This is not a high-maintenance system—it’s just like a car: give it a quick tune-up and it’ll run for years.
💬 Final Thoughts: Go Drip, Stay Chill
You don’t need to be an engineer to get drip irrigation working. You just need a plan, a few parts, and the patience to test things out. Once it’s set up, you’ll wonder how you ever gardened without it.
So go ahead—pick one bed or row, grab a starter kit, and give it a try. No more hose wrangling. No more surprise droughts. Just happy, hydrated plants and more time to sip your iced tea on the porch. 🍹
💡 Want to Learn More?
📎 Check out our complete Garden Watering 101 guide
📎 See our favorite timer options with side-by-side reviews
📧 Subscribe to the SSS Newsletter for weekly tips straight from my backyard
🌿 Grace Note: Drip by Drip
The garden has taught me that consistency beats intensity every time. I used to try and solve everything in a weekend—rushing around, trying to do it “right.” But drip irrigation reminded me that slow, steady care is what really makes things grow. It’s not just about water—it’s about rhythm. About returning day after day with a heart willing to notice, adjust, and try again. That’s grace in action. And that’s how we grow—both in the garden and in life.
💌 Want a free printable garden journal page to help you water with wisdom and notice what your plants (and your heart) are really asking for?
👉 Click here to download it, or comment ROOTED on today’s Instagram Reel and I’ll send it straight to your inbox.
✨ This reflection is part of my upcoming eBook, Rooted in Grace: A Christian Guide to Intuitive Gardening. If you’ve ever felt like your garden reflects your soul—messy, beautiful, full of lessons—you’re not alone.


6 Comments