How to Grow Rutabaga in Suburban Zone 9: A Complete Guide
Some of the links on this website are affiliate links, which means that if you make a purchase through these links, I may earn a small commission at no additional cost to you. As an Amazon Associate, I earn from qualifying purchases. I only recommend products I genuinely trust and believe will bring value to my readers. Also, some of the content was created with strategic use of AI tools. For more information, please visit the Privacy Policy page. Thank you for supporting my blog and helping me continue to provide valuable content.
Introduction
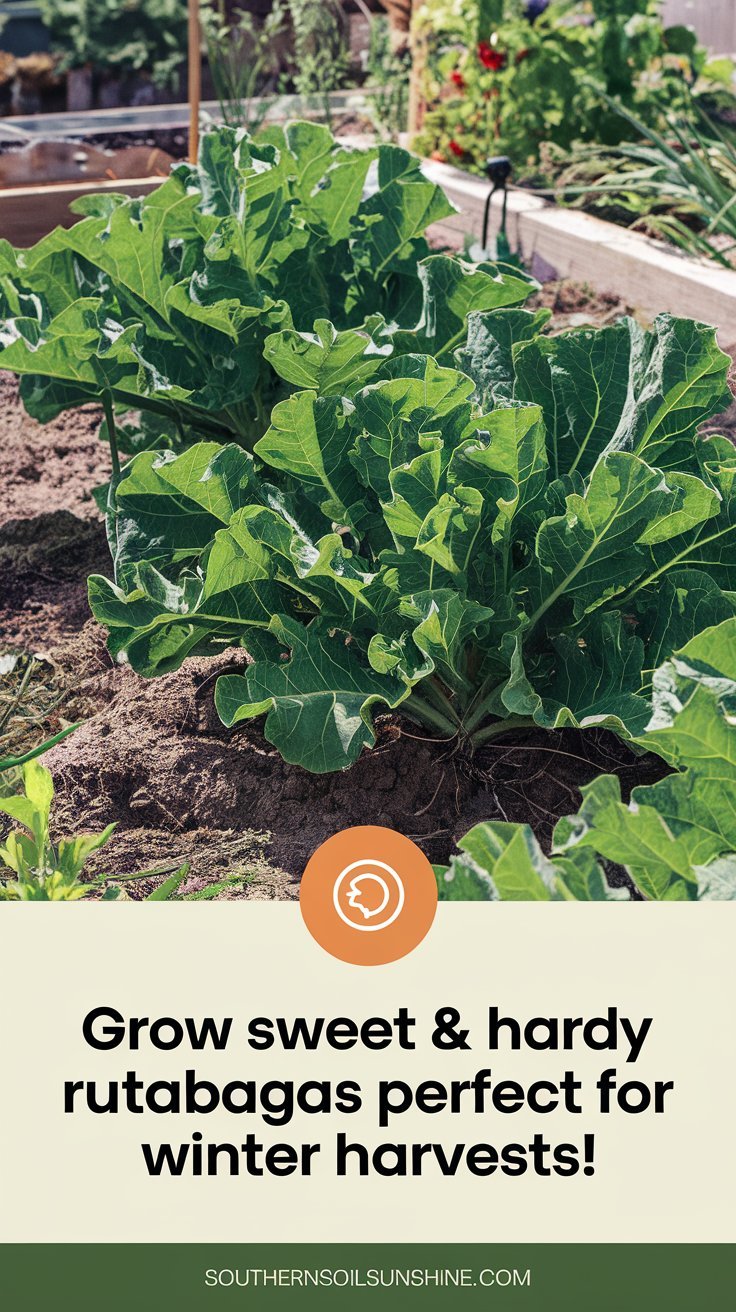
Rutabagas are a delicious, nutritious root vegetable that deserve a place in your Zone 9 suburban garden. With their mildly sweet, earthy flavor and versatility in recipes, rutabagas can be roasted, mashed, or added to stews and soups. Popular in many ethnic cuisines, they’re an excellent choice for garden-to-table meals inspired by global traditions. Growing rutabagas is surprisingly easy with the right conditions, and this guide will walk you through everything you need to know to cultivate a bountiful harvest.
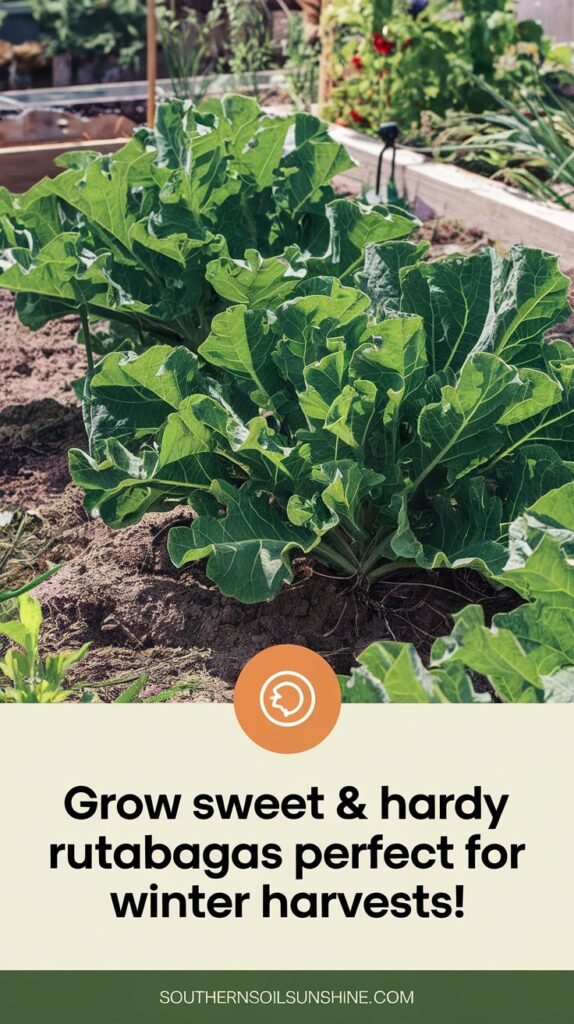
Ideal Growing Conditions for Rutabaga
Rutabagas thrive in cool weather, making them a perfect crop for the fall and winter seasons in Zone 9. Use the chart below to ensure optimal growing conditions:
| Factor | Requirement |
|---|---|
| Soil | Well-draining, loose soil with a slightly acidic to neutral pH (6.0 to 7.0). |
| Light | Full sun is ideal, but partial shade is acceptable in warmer areas. |
| Water | Consistent moisture, about 1 inch per week. Avoid waterlogging. |
| Temperature | Thrives between 50°F and 70°F; frost enhances sweetness. |
For detailed tips on soil preparation, check out our Beginner’s Guide to Soil Health in Zone 9. If you’re looking for high-quality pH meters or soil testers, visit our recommended tools page.
When and How to Plant Rutabaga
Timing is crucial for a successful rutabaga harvest. Planting at the right time ensures your crops will thrive in the cool seasons without bolting.
When to Plant: In Zone 9, plant rutabagas in late summer to early fall (August to October) for a winter harvest. For a spring harvest, sow seeds in late winter (January to February), but ensure they’ll mature before the heat of late spring. If you’re unsure about your frost dates, check out our Zone 9 Planting Calendar.
How to Plant: To grow rutabagas successfully:
- Prepare the Soil: Begin by loosening the soil to a depth of 12 inches and removing any rocks or debris. Mix in compost or aged manure to enrich the soil and improve drainage. This step ensures the roots can develop smoothly without obstruction.
- Sow the Seeds: Plant seeds ½ inch deep and space them 4-6 inches apart in rows 12-18 inches apart. Once the seedlings reach 2 inches tall, thin them to 6-8 inches apart to give the roots enough room to grow.
- Indoor Starting Option: If you prefer better control over germination, start seeds indoors 4-6 weeks before transplanting. Use seed trays filled with a pre-moistened seed-starting mix and keep them under grow lights for 14-16 hours daily. For detailed indoor seed-starting tips, visit our Indoor Seed Starting Guide.
Caring for Rutabaga Plants
Rutabagas are low-maintenance, but a little care goes a long way toward a successful harvest.
Watering: Provide consistent moisture by watering deeply once or twice a week. The soil should remain evenly moist but not soggy. Using a drip irrigation system can help maintain consistent moisture levels while saving water. Check out our Best Drip Irrigation Kits for Small Gardens for recommendations.
Fertilizing: Feed rutabagas with an organic fertilizer high in phosphorus and potassium about a month after planting. Avoid excess nitrogen, which promotes leafy growth at the expense of root development. Consider using fish emulsion or bone meal for balanced nutrition.
Weeding and Mulching: Weeds can compete for nutrients, so keep the planting area weed-free. Applying a 2-3 inch layer of mulch around the plants helps retain moisture, suppress weeds, and regulate soil temperature.
Common Pests and Diseases
While rutabagas are hardy, they can occasionally face pest and disease challenges. Here’s how to address common issues:
- Flea Beetles: These tiny pests chew holes in the leaves. Protect seedlings with floating row covers and keep the area weed-free to reduce their habitat.
- Cabbage Root Maggots: These can damage the roots. Rotate crops annually and plant rutabagas in well-draining soil to prevent infestations.
- Clubroot Disease: This fungal disease causes swollen, distorted roots. Maintain a slightly acidic soil pH and rotate crops yearly to avoid infection.
- Powdery Mildew: Ensure good air circulation by spacing plants properly and avoid overhead watering.
For organic pest control products, visit our Gardening Solutions Store.
Harvesting and Storing Rutabagas
Rutabagas are ready for harvest 90-120 days after planting. Here’s how to ensure the best flavor and texture:
When to Harvest: Harvest rutabagas when the roots are 4-5 inches in diameter. Smaller roots are more tender, while larger ones may develop a woody texture.
How to Harvest: Loosen the soil around the root with a garden fork and gently pull up the plant. Trim the foliage, leaving about 1 inch of stem to prolong storage life.
Storing Rutabagas: Store harvested rutabagas in a cool, dark place such as a root cellar or refrigerator. With proper storage, they can last up to 3 months. For tips on long-term vegetable storage, check out our Guide to Root Vegetable Preservation.
Companion Planting with Rutabagas
Pair rutabagas with these plants for better growth and pest control:
- Good Companions: Onions, garlic, beans, and marigolds help deter pests and improve soil health.
- Avoid Planting With: Other brassicas (like broccoli and cabbage) to prevent shared pest issues.
Looking for more companion planting ideas? Visit our Companion Planting Guide for Zone 9.
FAQ Section
- Can I grow rutabagas in containers?
- Yes, but choose a large container (at least 12 inches deep) to allow the roots to develop fully. For container gardening inspiration, check out our Best Vegetables for Container Gardening.
- How do I know if my rutabagas are sweet?
- Light frost enhances the sweetness of rutabagas. Harvest after a few chilly nights for the best flavor.
- Can I eat rutabaga greens?
- Absolutely! The greens are edible and can be used like collards or kale in recipes. Check out our upcoming recipe post on Cooking with Rutabaga Greens.
Conclusion
Rutabagas are a rewarding crop for Zone 9 gardeners, offering a delicious addition to your garden-to-table meals. Whether you’re roasting them for a hearty side dish or incorporating them into an ethnically-inspired stew, homegrown rutabagas are sure to impress. Ready to grow your own? Follow this guide and enjoy the satisfaction of harvesting this versatile root vegetable from your own suburban garden!

