
Planting Garlic in Zone 9: A Simple Guide
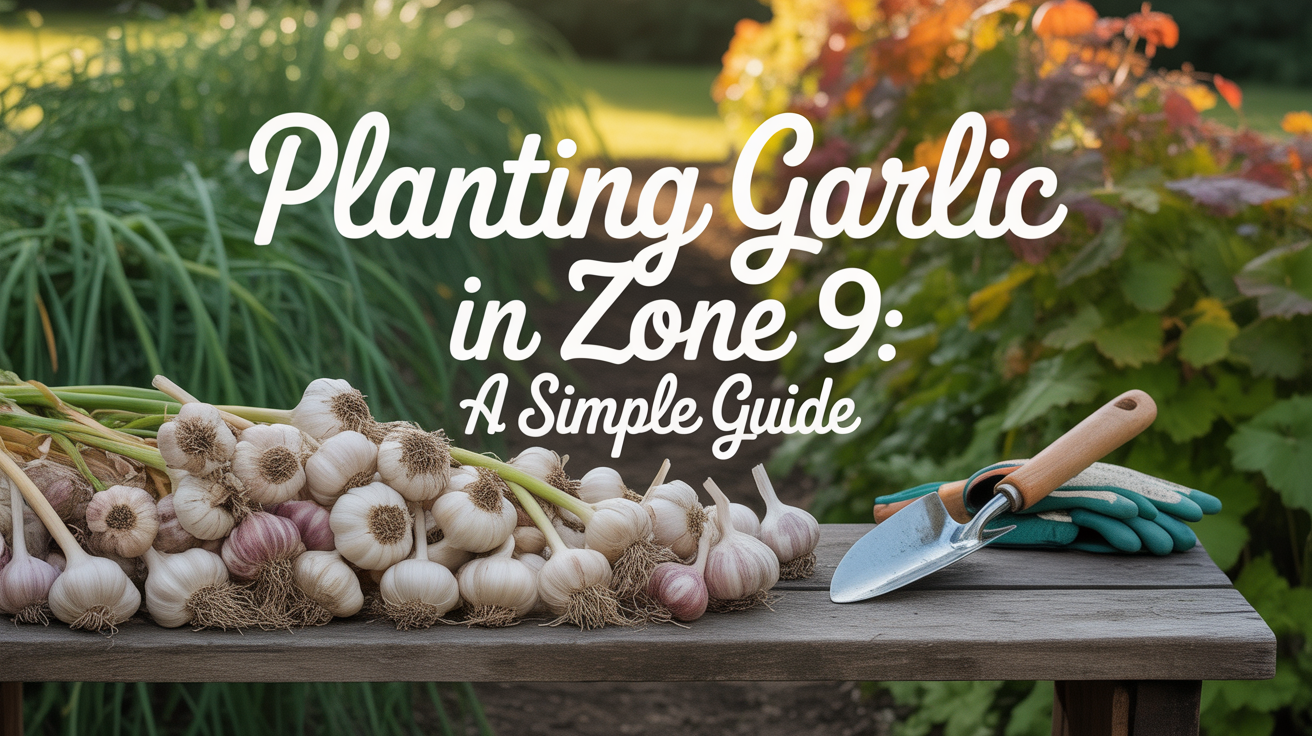
Planting Garlic in Zone 9: A Simple Guide to Growing Your Own 🧄
The first time I planted garlic, I was surprised at how simple it was. Break apart a bulb, tuck each clove into the soil, and wait. Yet that small act carries centuries of wisdom. Garlic has been grown in kitchen gardens across cultures and continents—humble, dependable, and nourishing.
In Zone 9, garlic feels like a gift. While summer often overwhelms us with heat and pests, autumn brings a fresh season of possibility. Garlic thrives in cooler months, needing only steady soil, patience, and time. There’s something deeply faithful about this crop—you tuck cloves into the earth long before you’ll see results. For months, they stay hidden, slowly rooting. It’s a quiet reminder of the unseen work that happens in our lives and in our gardens: steady, faithful, and sure.
Whether you’re new to gardening or expanding your fall crops, this guide will walk you through everything you need to know to plant garlic successfully in our warm Houston suburbs and across Zone 9.
Free eBook
Rooted in Grace
A Christian guide to intuitive gardening — the whole book, free. Tell me where to send it and it’s yours in a minute.
Why Grow Garlic in Zone 9? 🌱
If you’ve been thinking about adding garlic to your garden, Zone 9 is actually ideal for it. Here’s why we’re lucky to live here:
Our climate is garlic-friendly. Garlic loves the mild winters that define our region. Unlike gardeners up North who battle heavy freezes, we get the cool season garlic needs without the extreme cold stress.
Pests and diseases stay minimal. One of garlic’s greatest gifts is its natural resistance to most common garden problems. The sulfur compounds in garlic cloves make it unappealing to pests that plague other crops. You’ll spend less time troubleshooting and more time enjoying the harvest.
It’s a storage crop that actually stores. Plant in fall, harvest in late spring, and enjoy fresh, homegrown garlic for months. With proper curing and storage, your bulbs can last well into summer—that’s real food security on a home scale.
It’s a culinary essential. From stir-fries to soups, roasted spreads to simple sautés, nothing—and I mean nothing—beats homegrown garlic. The flavor is brighter, more complex, and infinitely more rewarding than grocery store cloves.
Sanda’s Tip: In Zone 9, planting garlic in fall means harvesting in late spring or early summer—just in time to make space for heat-loving summer crops like okra and basil. It’s a beautiful rhythm to the gardening year.
Choosing the Right Garlic for Your Garden 🪴
Not all garlic is created equal, and the choice you make in fall determines what you’ll harvest come summer. Let me break down the two main types:
Hardneck Garlic
Hardneck varieties produce a stiff flowering stalk (called a scape) that curls upward in spring. These garlic plants have fewer but larger cloves per bulb, and they tend to have a stronger, more complex flavor that garlic lovers adore. The downside? Hardneck garlic doesn’t store as long—which can be a real issue in our hot, humid Zone 9 summers. The extra moisture in the air can encourage mold and sprouting if bulbs aren’t stored in ideal conditions.
Softneck Garlic
Softneck varieties skip the scape entirely, instead producing multiple thin, flexible layers of cloves around a central core. You get more cloves per bulb, a milder to medium flavor, and—most importantly for us—superior storage longevity. Softneck garlic handles our humid climate beautifully and stores reliably for months in cool, dry conditions.
Sanda’s Zone 9 Note: While softneck garlic is usually your safest bet in our climate, don’t let that stop you from trying hardneck varieties! Adventurous gardeners can absolutely grow them with extra attention to storage conditions—just keep them cool and dry in summer, and monitor for sprouting. Some years, you’ll succeed beautifully.
When to Plant: Timing Is Everything 🌞
I’ve learned that timing is absolutely crucial with garlic. Plant too early, and your cloves sprout prematurely, wasting energy before winter sets in. Plant too late, and they won’t establish strong roots before the growing season kicks into high gear. But timing it just right? That’s when the magic happens.
The best planting window in Zone 9 is October through early December. Watch your weather patterns—we want to plant when daytime highs are hovering in the 70s and nighttime temps consistently dip into the 50s. That sweet spot usually arrives right around late October in the Houston area, though it can stretch into November some years.
Here’s what’s happening underground during this cool season: garlic is busy establishing roots. It needs enough time to develop a strong root system before the soil warms and triggers bulb development. If you plant too early (say, late September), the warm soil might fool your cloves into sending up leaves before they’ve rooted properly. If you plant too late (after mid-December), there’s simply not enough time for adequate root development, and you’ll end up with disappointing, small bulbs come June.
Sanda’s Garden Wisdom: Mark October 20th on your calendar as a reminder to start thinking about garlic prep. By the last week of October, you should be ready to plant. If you miss the window, don’t despair—you can usually still plant through early November and get decent results.
Preparing the Bed: Create a Cozy Home 🍂
Garlic isn’t demanding, but it does have preferences. It loves loose, well-drained, fertile soil—and in Zone 9, where our winters can be surprisingly wet, drainage is non-negotiable.
Start by clearing your chosen bed of weeds, old plant debris, and any rocks or sticks that might block clove development. Loosen the soil 8 to 10 inches deep—you want it friable and soft, not compacted. This is your chance to add organic matter generously. Work in 2 to 3 inches of compost or aged manure. Garlic absolutely loves rich soil, and this investment will pay off in bigger, healthier bulbs.
Blend in a balanced organic fertilizer as you prepare. Something like a 10-10-10 formula, or a specialized bulb food, gives garlic the nutrients it needs for strong root development and bulb formation. If you’re working with clay-heavy soil (common in suburban Houston), now’s the time to add extra compost to improve structure and drainage.
If your garden is prone to standing water during our rainy winters, consider creating raised beds or mounding rows. Garlic dislikes soggy feet, and waterlogged soil leads to rot—the one real threat to a successful crop in our humid climate.
Planting Garlic Step by Step 🧄
Here’s where patience meets action. The actual planting process is wonderfully simple, though each small step matters.
Start with healthy bulbs. Source certified disease-free garlic from reputable seed suppliers or local gardening friends. Break bulbs into individual cloves right before planting—don’t do this weeks ahead, as cloves dry out quickly. Keep the papery skin intact on each clove; it protects the delicate embryonic plant inside.
Select the largest, healthiest cloves. Look for cloves that are plump and firm, without soft spots or discoloration. Bigger cloves mean bigger bulbs at harvest. Save the tiny cloves for other purposes (garlic powder, anyone?).
Plant with intention. Make a hole about 2 inches deep, and set each clove pointy side up. The pointed end is where the shoot will emerge; the flat, root end goes down into the soil. Space cloves 4 to 6 inches apart, with rows about 12 inches apart. This spacing gives each plant room to develop a full bulb without crowding.
Cover and mulch generously. Press soil gently over each clove and water lightly. Then—and this is important—add a thick layer of mulch. Use straw, shredded leaves, or pine needles. Aim for 3 to 4 inches of mulch. This does several things: it regulates soil moisture through our unpredictable winter rains, suppresses weeds, and protects cloves from temperature swings.
Caring for Garlic Through the Growing Season 🌿
Once planted, garlic is relatively low-maintenance. But a little consistent care ensures a beautiful harvest.
| Care Task | Timeline | Details |
| Watering | October–May | Keep soil evenly moist but not waterlogged. Zone 9 winter rains usually handle this, but water during dry spells. Reduce watering as bulbs mature in late April/May. |
| Fertilizing | February & April | Side-dress with compost or apply liquid seaweed spray in early spring. This feeds the developing bulbs as days lengthen. |
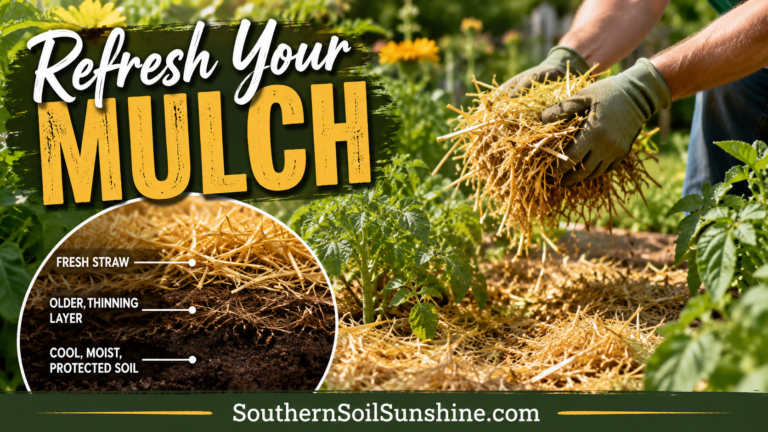
| Mulch Maintenance | Throughout season | Replenish mulch as it breaks down. Keep 2–3 inches around plants to suppress weeds and regulate moisture. |
| Weeding | Ongoing | Garlic hates competition for nutrients. Hand-weed gently around plants, being careful not to disturb developing bulbs. |
Garlic is quite forgiving and will grow steadily through our mild winters. Even when we get a rare cold snap with freezing temperatures, a light frost blanket or extra mulch offers protection. The real key is preventing waterlogging during our wetter months and staying ahead of weeds.
Sanda’s Tip: If you planted hardneck garlic and want to harvest scapes (the curly flower stalks), snap them off when they’re tender in spring. They’re delicious sautéed and harvesting them actually redirects energy to bulb development. Win-win!
Harvesting and Curing Your Garlic 🌞
Come late May or early June, when the lower leaves start to brown and dry, it’s time to harvest. Gently loosen the soil and pull bulbs up with care—you want intact, unblemished bulbs.
Understanding Garlic’s Hidden Growth Pattern: What Happens Below
One of the most beautiful things about growing garlic is learning to trust the invisible work. Between planting in October and harvest in June, your garlic cloves are undergoing a remarkable transformation that you can’t see—and that’s precisely where the real magic unfolds.
In Zone 9, garlic experiences what botanists call “vernalization.” After spending those cool winter months rooted in soil, the cloves need sustained cold exposure (roughly 4 to 8 weeks below 50°F) to trigger bulb development. Here’s the spiritual poetry of it: your garlic must go through a dormant, hidden season before it can produce. The clove doesn’t rush to create leaves; it first roots deeply, then waits in the darkness for spring’s lengthening days to signal that it’s time to bulb up. Around late January or early February, as our days start noticeably lengthening, your garlic senses the seasonal shift and begins the work of forming the bulb we’ll eventually harvest.
This is why timing matters so deeply in our region. Plant too early, and warm soil prevents proper vernalization. Plant too late, and your garlic never gets the cold hours it needs to perform this underground transformation. When you hit that October-to-November window just right, you’re aligning with the crop’s actual biological needs—not fighting against nature, but cooperating with it.
Feeding Garlic Through the Growing Cycle: Nutrition Timing in Zone 9
While garlic isn’t a heavy feeder compared to summer crops, understanding *when* it needs nutrients makes an enormous difference in bulb size and quality—especially in our Houston soils, which often lean toward heavy clay with variable nutrient profiles.
The feeding strategy should match garlic’s growth phases. In fall (October through December), your newly planted cloves are focused entirely on root establishment. Nitrogen at this stage is less important; you want phosphorus and potassium to support root development. This is why adding well-aged compost and bone meal during bed prep is so valuable. Then, come February when new leaf growth emerges and temperatures moderate, garlic’s appetite increases. This is the moment for a gentle nitrogen boost—a side-dressing of compost or a liquid seaweed application encourages vigorous top growth. By April, as bulb swelling accelerates, shift toward potassium-rich fertilizers (wood ash, kelp extract, or a balanced bulb food). These mineral nutrients help the bulb accumulate sugars and develop the compounds that give garlic its distinctive flavor and storage potential.
In our Zone 9 climate, one crucial detail: stop fertilizing by mid-April. Summer heat arrives early for us, and over-feeding late in the season can delay maturity and create soft, watery bulbs that won’t store well through our humid summers.
Reading the Season: Signs Your Garlic Is Ready and Thriving
Intuitive gardening means learning to read your plants’ quiet language. Garlic communicates its needs and progress through visible cues—if you know what to look for.
In late winter (February–March), healthy garlic should show vibrant green shoots pushing up through the mulch, sometimes even sending up surprisingly tall foliage. Don’t be alarmed by this height; it’s normal. Come March and April, you’ll notice the plant getting visibly thicker, with leaves broadening and deepening in color. If your plants look spindly, pale, or stunted by mid-March, they’re likely signaling a nutrient shortfall—apply that spring fertilizer right away.
Watch also for pest and disease signals. Garlic’s natural sulfur compounds make it remarkably resistant, but occasionally you’ll see the early yellowing of leaves or a slight wilting. In our humid Zone 9, the biggest threat is fungal leaf spot during particularly wet springs. If you notice brown or purple spots on leaves, increase air circulation by removing lower mulch slightly, and water only at soil level rather than overhead.
By late April and into May, as temperatures climb and days lengthen dramatically, growth naturally slows. The plant is putting its energy into bulb development rather than leaf production. At this stage, the foliage may look less lush, and some yellowing of older leaves is completely normal. This is *not* a sign of stress—it’s your garlic preparing for harvest. The key is that the foliage should never completely yellow until very late May or early June. If everything browns out early, your garlic matured too quickly (usually from excessive heat or premature water loss) and you may have smaller bulbs.
Sanda’s Garden Wisdom: Garlic taught me to read the plant instead of the calendar. The leaves tell you what is happening under the soil long before you can see a bulb, and there is no shortcut for that, only the willingness to walk out and look. That is most of what faithfulness looks like in a garden, and most of what it looks like everywhere else too.
So plant them in October and then let them go. Garlic will spend the whole winter doing quiet, invisible work while you are busy with holidays and cold snaps and everything else. Come May, you will pull up something you can hardly believe came from one clove you pressed into the dirt eight months ago.
That is the whole lesson, really. Tuck it in, cover it well, and trust the season you cannot see.
🛒 Shop This Post
Here is what I actually use for a garlic bed here in Zone 9, from planting in fall to harvest in late spring.
- California softneck garlic bulbs The type that actually stores through a humid Zone 9 summer.
- Bagged organic compost The two to three inches worked in before the cloves ever go down.
- Down To Earth bone meal Slow phosphorus at bed prep, which is when garlic roots want it.
- Balanced organic vegetable fertilizer A true 4-4-4 blended in while you prepare the bed.
- Liquid kelp concentrate For the early spring seaweed spray when growth picks up in February.
- Clean straw mulch Three to four inches to steady soil moisture through our winter rains.
- Long needle pine straw The other mulch I reach for; it mats less and stays put in wind.
- Lightweight frost blanket For the rare hard freeze, thrown over the bed and off again by noon.
These are Amazon affiliate links. If you buy through them I earn a small commission at no extra cost to you, and I only link gear I actually use in my own Zone 9 garden.
Ready to Go Deeper in the Garden?
If this article resonated with you, you might be ready for something more than tips.
- Download the FREE Rooted in Grace eBook
- Get the Rooted in Grace Print Book on Amazon
- Join Rooted Reset
- Follow on Instagram – @southernsoils
- Save on Pinterest – @southernsoilsunshine
- Join on Facebook – Southern Soil Sunshine
“The garden is not just a place to grow plants – it is a place to grow yourself.”
Free eBook
Before you go — the book is yours
Rooted in Grace: A Christian Guide to Intuitive Gardening. No cost, no catch. Read it on any device, at whatever pace the season allows.



4 Comments