
Frost Protection Basics for Beginners
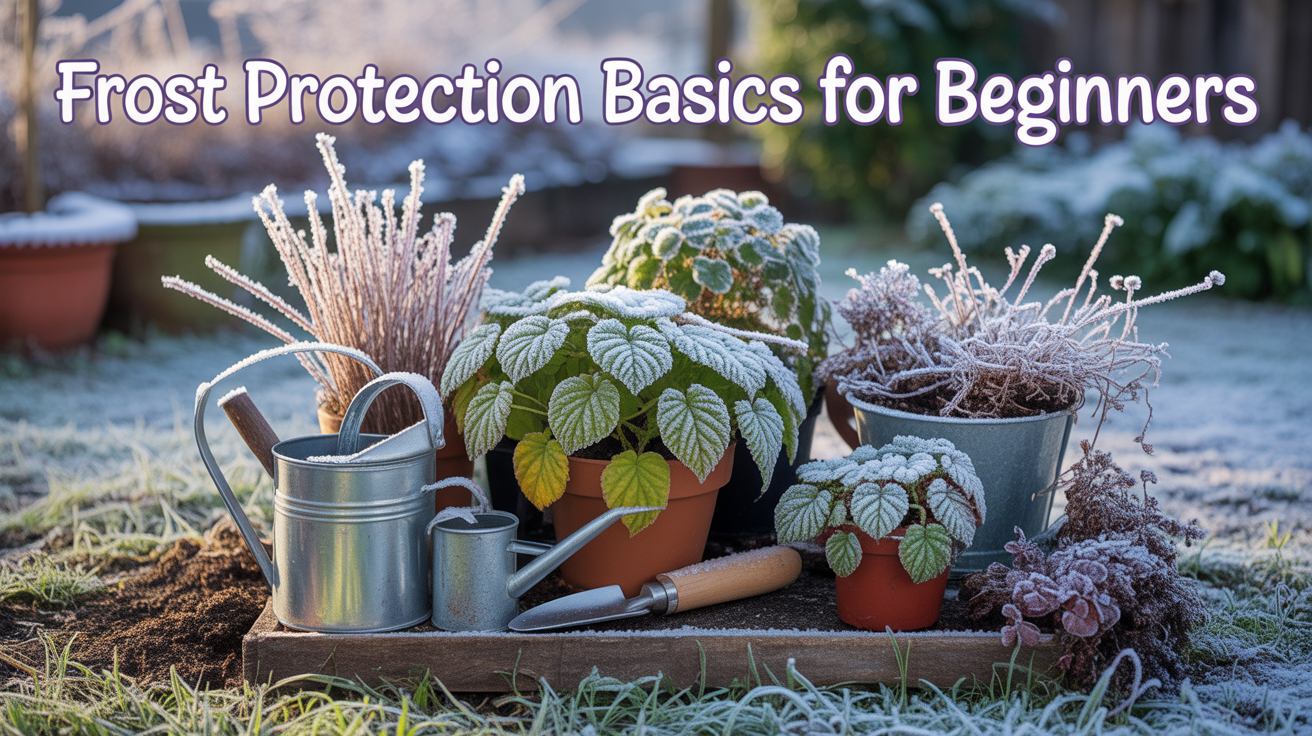
Frost Protection Basics for Beginners: Keeping Your Garden Safe When Winter Whispers ❄️
I’ll never forget the first winter I underestimated frost. The forecast called it “light,” and I thought my garden would be fine. The next morning, I walked outside to find wilted basil, scorched bean leaves, and tender zinnias blackened overnight. Frost can look gentle—a shimmer of ice on the grass—a kind of winter jewelry draped across the garden—but it can devastate tender crops in a single night.
In Zone 9, we don’t face long, harsh winters, but frost still visits us a few nights each season, usually when we’re least expecting it. The good news? With a little preparation and awareness, protecting your plants is simple. Frost protection is less about perfection and more about mindfulness—knowing your unique microclimate, watching the weather with intention, and using coverings or techniques that buy your plants just a few degrees of warmth. 🌱
And spiritually, frost reminds me of the seasons in life when things suddenly grow cold—unexpected setbacks, disappointments, or pauses in our plans. Just as we cover tender plants to help them endure, God covers us with His grace, keeping us through the chill until warmth returns. There’s comfort in that, isn’t there?
This guide will walk you through frost basics—what it is, how to prepare, and how to protect your plants—so you can garden with confidence and peace this winter.
Free eBook
Rooted in Grace
A Christian guide to intuitive gardening — the whole book, free. Tell me where to send it and it’s yours in a minute.
Understanding Frost: What It Is and Why It Matters 🌡️
Frost forms when temperatures drop near or below freezing (32°F) and water vapor condenses on surfaces, forming delicate ice crystals. Here’s what often surprises new gardeners: even if the air temperature reads 35°F on your weather app, your plants can still frost. Why? Because leaf surfaces radiate heat and cool faster than the surrounding air, creating a microclimate that’s often several degrees colder than what the thermometer shows.
Think of it like this—frost is nature’s way of testing what’s tender and what’s tough in your garden. And in our Houston suburbs, where we love growing things year-round, understanding which crops can handle a frost night and which ones can’t is essential to keeping your harvests thriving.
Tender vs. Hardy: Know Your Plants
Different plants respond to frost differently, and knowing where yours fall on the hardiness spectrum will shape your entire protection strategy:
| Plant Category | Examples | Frost Tolerance | Zone 9 Notes |
| Tender Annuals | Tomatoes, peppers, basil, beans, squash, zinnias | Will die at 32°F or below | Must be protected or pulled before first frost |
| Moderately Hardy | Lettuce, peas, carrots, spinach, cabbage | Can handle light frost (28-32°F) with some leaf damage | These are your cool-season heroes—actually thrive in November through February |
| Cold Hardy | Kale, broccoli, collards, onions, garlic | Survive repeated frosts and actually taste better after cold | These are your Zone 9 winter workhorses—protect soil only if temp drops below 20°F |
Sanda’s Zone 9 Note: One of the joys of gardening here is that we get to garden almost year-round. Our cool season (November through March) is actually our best growing season for many crops. This means protecting those tender summer crops through that first hard frost, then replanting cool-season crops, is the rhythm we dance to. Frost protection isn’t just about saving plants—it’s about extending the abundance.
Knowing Your Frost Dates and Reading Your Yard 📍
First Frost and Last Frost in Zone 9
In the Houston area and surrounding Zone 9 suburbs, timing is everything:
- First Frost: Usually arrives late November to mid-December
- Last Frost: Typically occurs mid-February to early March
- The Wild Card: Frosts are brief but unpredictable—a warm week in January can give us false hope, then a cold snap arrives
I’ve learned to watch the National Weather Service forecast closely during our cool months, and I recommend setting alerts on your phone for temperatures dipping below 36°F. Those few hours of notice make all the difference between a thriving garden and a heartbreaking morning.
Reading Your Microclimate: The Most Important Step
Your garden isn’t one uniform climate zone. Within your yard, there are microclimates—small pockets where frost settles deeper, where warmth lingers longer. Once you learn to read these spaces, you’ll know exactly where to concentrate your protection efforts.
- Low spots and valleys: Cold air sinks, so frost settles here first and lingers longest. These are your most vulnerable zones.
- Near walls, fences, or buildings: Structures radiate heat absorbed during the day, creating warmer microclimates. Plants here often survive frost that kills the same plant in open garden.
- Under tree canopies: Tree branches act like a natural frost blanket, trapping heat radiating from the earth. A plant under an oak tree might survive frost that kills an exposed plant.
- Open, windy areas: Wind carries frost deeper into plant tissues. These areas are the least protected naturally.
Here’s my favorite observation practice: On the morning after a frost night, walk your yard slowly. Notice where the grass sparkles with ice crystals and where it doesn’t. Notice which plants show damage and which look untouched. That visual map tells you everything about your garden’s frost patterns. Take mental notes or even photos—your garden will repeat these patterns every year. 🚶♀️
Sanda’s Frost Warning: Don’t rely only on your neighborhood’s weather station. Local conditions vary wildly. I’ve had nights where the “official” low was 34°F but my low-lying beds frosted solid while my raised beds near the south-facing wall stayed warm. Know your specific yard’s patterns, not just the general forecast.
Frost Protection Materials: What You Already Have 🏠
Here’s the beautiful truth: you don’t need fancy, expensive frost equipment. Many of the best frost protection materials are already in your home, waiting in linen closets and garages.
The Frost Protection Toolkit
- Sheets, blankets, or quilts: Perfect for covering large beds overnight. Use old ones you don’t mind getting dirty. They trap heat effectively and are easy to deploy quickly.
- Frost cloth or row cover (lightweight): Reusable season after season, lets light and water through, and can stay on plants for several days if frost lingers. A single 25-foot roll lasts years.
- Plastic sheeting: Works in a pinch but use with caution—it conducts cold and can damage leaves if it touches them directly. Best used as a tent structure held up with stakes.
- Clay pots or buckets: Invert over small individual plants (like pepper plants or herbs) for the night. The container traps heat radiating from the soil below.
- Mulch: Insulates soil and protects root systems. A fresh 2-3 inch layer before frost season is your plant’s insurance policy underground.
- Water jugs or gallon milk containers: Fill with water and place near vulnerable plants. Water absorbs heat during the day and releases it slowly at night, creating a warmer microclimate. This works beautifully for tomato plants or pepper plants still producing in November.
Sanda’s Tip: Before buying anything new, do a “frost audit” of your home. Old sheets? Perfect. Garden stakes? Great for anchoring. Buckets in the garage? Excellent frost covers. Gardening is about working with what we have and being good stewards of resources. That’s not just practical—it’s faithful.
How to Cover Plants Correctly: The Step-by-Step Process 🌿
Knowing what materials to use is one thing. Using them correctly is what actually saves your harvest. The difference between a successful frost night and a lost crop often comes down to technique.
Preparation: The Night Before
When you see frost in the forecast, don’t wait until evening. Start thinking about coverage during the afternoon. Water your beds well if the soil is dry—moist soil holds heat better than dry soil. A well-watered garden is more frost-resilient than a thirsty one.
Covering: Timing and Technique
Place your coverings before sunset to trap as much daytime heat as possible. Use stakes or garden staples to hold coverings securely so they don’t blow away overnight. If you’re using sheets or blankets, the cover should float slightly above the plants (not touching leaves), supported by stakes at the corners and edges. Think of it like a tent—the air space between cover and plant is what insulates.
Anchor edges firmly to the ground, tucking fabric into the soil or weighing it down with rocks or soil. Don’t leave gaps where frost can creep in underneath. A single gap defeats the whole purpose.
For tender plants like tomatoes or peppers, inverting a pot over each plant can be faster than covering an entire bed. The pot traps radiant heat from the soil.
Morning: The Reveal
Here’s where many gardeners make a mistake: they leave covers on too long. Once temperatures rise above 40°F in the morning, remove your covers immediately. Plants need sunlight and air circulation. Leaving covers on once temps warm up can actually damage plants through excess humidity or heat buildup. Check the forecast—if temps will rise well above freezing, remove everything. If another frost is predicted for the next night, you can leave frost cloth on (it lets light through), but remove heavy sheets and blankets.




3 Comments