How to Plant Spring Bulbs in Warm Climates: A Beginner’s Guide
How to Plant Spring Bulbs in Warm Climates: A Beginner’s Guide 🌷
There’s something almost sacred about planting bulbs in the cooler months, isn’t there? You’re tucking little promises of color into the dark soil, trusting that beneath the surface, something beautiful is gathering strength. Gardening in warmer climates like Zone 9 gives us the unique privilege of extending our growing season, but it also comes with its own beautiful complications. Without freezing winters, some bulbs need a little extra help to thrive, while others are perfectly at home in our mild Houston suburban weather.
I remember my first time planting bulbs in Texas. I stood there with a bag of tulips in one hand and a trowel in the other, completely unsure if they would ever bloom in our heat. Fast forward a few months, and those tulips didn’t just bloom—they put on a show that had my neighbors stopping by to admire them. That moment taught me something I still believe: bulbs are faithful teachers. They reward your efforts with abundance. In this guide, I’m sharing everything I’ve learned about choosing, planting, and caring for spring bulbs in warm climates so you can experience that same joy in your garden.
Free eBook
Rooted in Grace
A Christian guide to intuitive gardening — the whole book, free. Tell me where to send it and it’s yours in a minute.
Understanding Spring Bulbs 🌱
What Are Spring Bulbs, Really?
Spring bulbs are nature’s little powerhouses—and I mean that in the most literal sense. Inside each bulb is everything it needs to grow: the roots, the shoot, and even the flower, all neatly tucked away like a gift waiting to be unwrapped. When planted in the fall or winter, the bulb rests and gathers strength, waiting for the perfect combination of warmth, moisture, and light to burst into bloom.
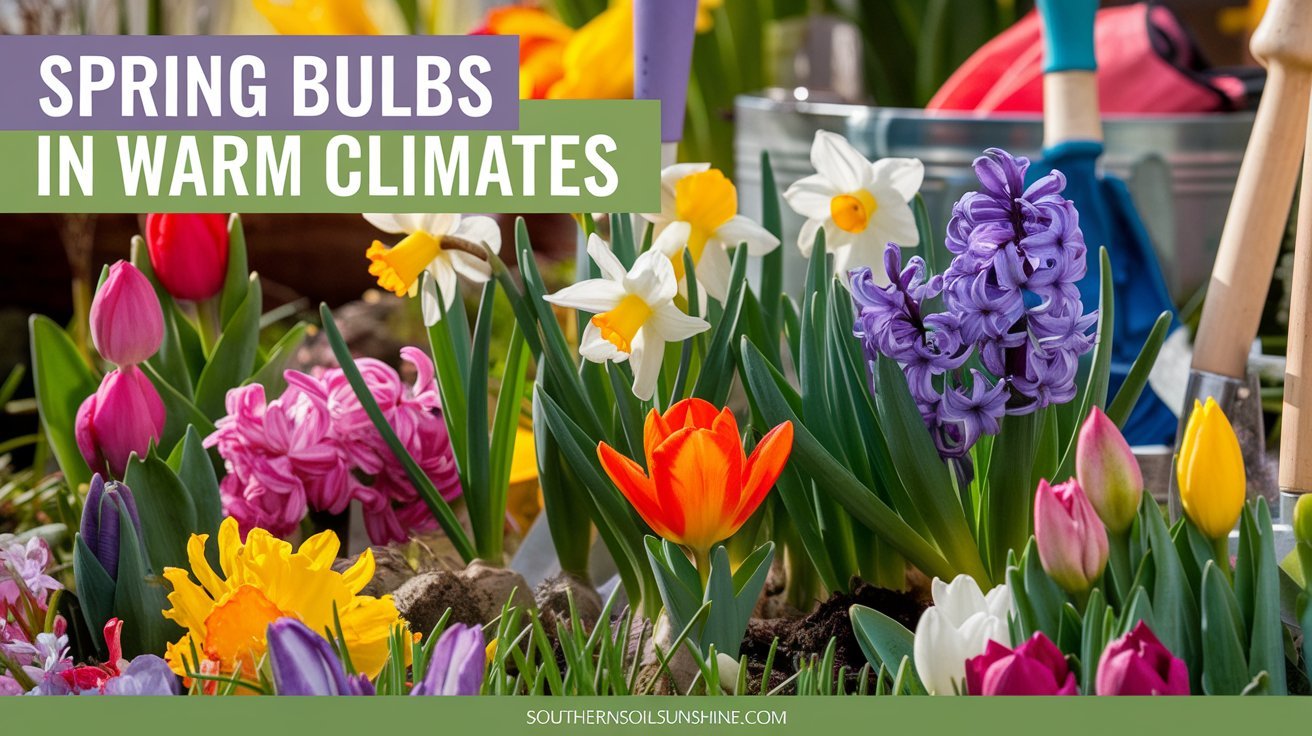
Common spring bulbs include daffodils, tulips, hyacinths, and alliums, each bringing its unique personality to the garden. Daffodils are cheerful and reliable. Tulips are elegant and bold. Hyacinths perfume the entire garden with their sweetness. What’s truly fascinating is how these seemingly simple structures—just papery layers and a dormant embryo—transform into stunning, colorful displays with just a little soil and sunshine. It’s a reminder that sometimes the most beautiful growth happens when we create the right conditions and then trust the process.
Why Spring Bulbs Need Our Help in Zone 9
Here’s the truth about gardening in Zone 9: we’re blessed and challenged in equal measure. Our mild winters mean we avoid the snow and ice that many gardeners dread, but some bulbs—particularly tulips and hyacinths—actually *need* a cold period to trigger their growth cycle. It’s hardwired into their biology. In colder regions, winter does this work naturally. Here in Houston, we need to be the winter our bulbs are expecting.
This is where pre-chilling comes in, and it’s honestly not complicated once you understand the “why” behind it. The cold period signals to the bulb that it’s time to shift from dormancy to growth. Without it, some bulbs simply won’t bloom the way they’re meant to.
Sanda’s Zone 9 Note: Our Houston winters rarely dip below 40°F for sustained periods, which isn’t cold enough for most tulips and hyacinths to register the “winter” they need. This is why pre-chilling is our secret weapon—and why some gardeners find that bulbs naturally perform better their second or third year as the soil cools more deeply.
Choosing the Right Bulbs for Zone 9 💚
Heat-Tolerant Bulbs That Love Our Climate
Not all bulbs require a cold period to thrive. Many are perfectly suited for warmer climates and will come back year after year with minimal fuss. These are my go-to favorites because they feel like old friends—reliable, beautiful, and genuinely happy in our Texas gardens.
Daffodils are the workhorses of spring bulbs. They’re reliable, cheerful, naturally pest-resistant, and they multiply over time. Plant them once and they’ll reward you for years. In Zone 9, most daffodil varieties bloom beautifully without pre-chilling.
Freesias bring delicate, fragrant blooms that are as stunning as they are easy to grow. Their perfume will stop you in your tracks when you walk past them on a warm spring morning.
Ranunculus are like little roses with their layered petals. They’re perfect for cutting gardens and they genuinely thrive in our mild winters, blooming prolifically if you give them full sun and well-draining soil.
Alliums (ornamental onions) add architectural drama to your beds with their globe-shaped purple or white flowers. They’re conversation starters and beloved by pollinators.
Amaryllis bring bold, trumpet-shaped flowers that work beautifully in both outdoor gardens and container displays. In Zone 9, many varieties can overwinter outdoors when planted in protected spots.
Bulbs That Need Pre-Chilling
If your heart is set on tulips, crocuses, or hyacinths—and I completely understand why—here’s exactly what to do to give them the winter they’re expecting:
Sanda’s Garden Wisdom: The biggest mistake I see is storing pre-chilled bulbs too close to fruit. Apples, bananas, and pears release ethylene gas, which can damage your bulbs and ruin months of planning. Store them separately on a dedicated shelf in your refrigerator.
Here’s the process I use, and it’s become so natural I barely think about it anymore:
First, place your bulbs in a breathable bag or container with sawdust or peat moss. This keeps them dry while allowing air circulation. Then, store them in the fridge for 6 to 8 weeks. The ideal temperature is between 35–45°F. Mark your calendar—seriously, set a phone reminder—so you don’t forget to plant them after chilling. (I learned this lesson the hard way after accidentally storing a bag of tulips for four months!)
Plant your pre-chilled bulbs as soon as the chilling period ends. They’re ready to grow and shouldn’t wait any longer than necessary.
Where to Source Quality Bulbs
When shopping for bulbs, look for firm, plump specimens without signs of mold, soft spots, or damage. I’ve found consistent success with bulbs from local Houston-area nurseries, where the staff actually understand our climate and can recommend varieties that thrive here specifically. They’ve also usually already considered our zone’s requirements.
Online bulb suppliers can be wonderful too, but make sure they’re reputable and ship to Texas. Order early—August and September are ideal—so you have the best selection and can plan your pre-chilling timeline carefully.
Preparing Your Garden for Planting 🌿
Soil Preparation Matters More Than You Might Think
Bulbs are incredibly particular about one thing: drainage. In our Houston clay soil, this is non-negotiable. Bulbs sitting in waterlogged soil will rot, and all your planning will be for nothing. I’ve learned to amend my beds generously with compost and aged bark before planting.
If you’re working with heavy clay (and most of us in the suburbs are), consider raising your beds 6 to 8 inches and filling them with a mixture of native soil, compost, and coarse sand or perlite. This gives bulbs the fast drainage they crave while still providing nutrients.
Test your soil’s pH if you can. Most bulbs prefer slightly neutral to slightly acidic soil (6.0–7.0 pH). Our Houston clay tends to be slightly alkaline, so adding sulfur or acidifying compost can help.
Sunlight and Location
Most spring bulbs perform best in full sun—at least 6 hours of direct light daily. In Zone 9, some afternoon shade during late spring is actually beneficial as temperatures warm up, but morning sun is essential for strong growth.
Think about your garden’s microclimate. South-facing beds warm faster, which can actually encourage bulbs to bloom earlier. North-facing spots stay cooler longer, which can extend your blooming season. Both have their advantages depending on what you’re planting.
Sanda’s Tip: Plant bulbs under deciduous trees in your landscape. In spring, before the trees leaf out, bulbs get the full sun they need. By the time summer heat arrives, the trees provide dappled shade that protects them. It’s like nature’s perfect timing.
Planting Your Spring Bulbs: The Process 🌸
Planting bulbs is one of my favorite gardening tasks. There’s something meditative about it—kneeling in the soil, holding this small promise in your hand, tucking it into the earth with care. Here’s how I do it:
| Bulb Type | Planting Depth | Spacing | Best Planting Time (Zone 9) |
| Daffodils | 6–8 inches | 3–6 inches apart | October–November |
| Tulips | 6–8 inches | 4–6 inches apart | December–January (after pre-chilling) |
| Hyacinths | 6–8 inches | 4–6 inches apart | December–January (after pre-chilling) |
| Ranunculus | 2–3 inches | 3–4 inches apart | November–December |
| Alliums | 4–6 inches | 4–8 inches apart | October–November |
| Freesias | stronger plants.
Once your bulbs have finished blooming, resist the urge to cut back the foliage immediately. I know the fading leaves look tired and brown, but they’re still photosynthesizing and sending energy back down to the bulb for next year’s bloom. Leave the foliage in place for at least 4 to 6 weeks after flowering ends. You can tuck it behind other plants if it bothers you visually, or plant your bulbs among perennials and ornamental grasses that will naturally hide the declining foliage. Some gardeners in our zone choose to dig up tulips and hyacinths after they finish blooming, store them in a cool place over summer, and replant them in winter. This works beautifully if you love the extra attention and want to guarantee repeat performance. Personally, I tend to treat most of mine as annuals—enjoying them fully one season and then replanting fresh bulbs the next year. Both approaches are perfectly valid; it’s really about what feels right for your garden rhythm and time commitment. Fertilizing for Year-Round VitalityBulbs come pre-loaded with nutrients, which is why you don’t need to fertilize heavily. But in our nutrient-leaching Houston clay and with regular watering, a light feeding helps. I apply a low-nitrogen, high-phosphorus fertilizer (something like 5-10-10) just as shoots emerge in late winter. Phosphorus specifically supports root development and flower formation, which is exactly what we want at that stage. Once blooms appear, stop fertilizing. Extra nitrogen at that point will push leaf growth at the expense of flowers. If you’ve amended your soil well with compost before planting, you often don’t need additional fertilizer at all—the compost provides slow-release nutrients throughout the season. For bulbs you’re keeping year after year (like daffodils and alliums), a light application of balanced fertilizer in early fall as they begin their growth cycle sets them up well. But again, this is refinement, not requirement. I’ve seen stunning bulb displays in gardens where the gardener simply planted them in good soil and let nature do most of the work. There’s something quietly profound about how bulbs teach us patience and trust. We plant them in the darkness of fall, uncertain if what we’ve done is right, and then we wait through months we can’t see into. Come spring, they emerge exactly as promised—not because we forced them or worried them into blooming, but because we created the conditions and then released our need to control the outcome. That’s a lesson that extends far beyond our gardens, isn’t it? Sometimes the most beautiful growth happens when we do our part faithfully and then surrender the rest to a timing larger than ourselves. 💚 Ready to Go Deeper in the Garden?If this article resonated with you, you might be ready for something more than tips.
“The garden is not just a place to grow plants – it is a place to grow yourself.” Free eBook Before you go — the book is yours Rooted in Grace: A Christian Guide to Intuitive Gardening. No cost, no catch. Read it on any device, at whatever pace the season allows. |