
How to Grow Spinach in Zone 9: A Complete Guide
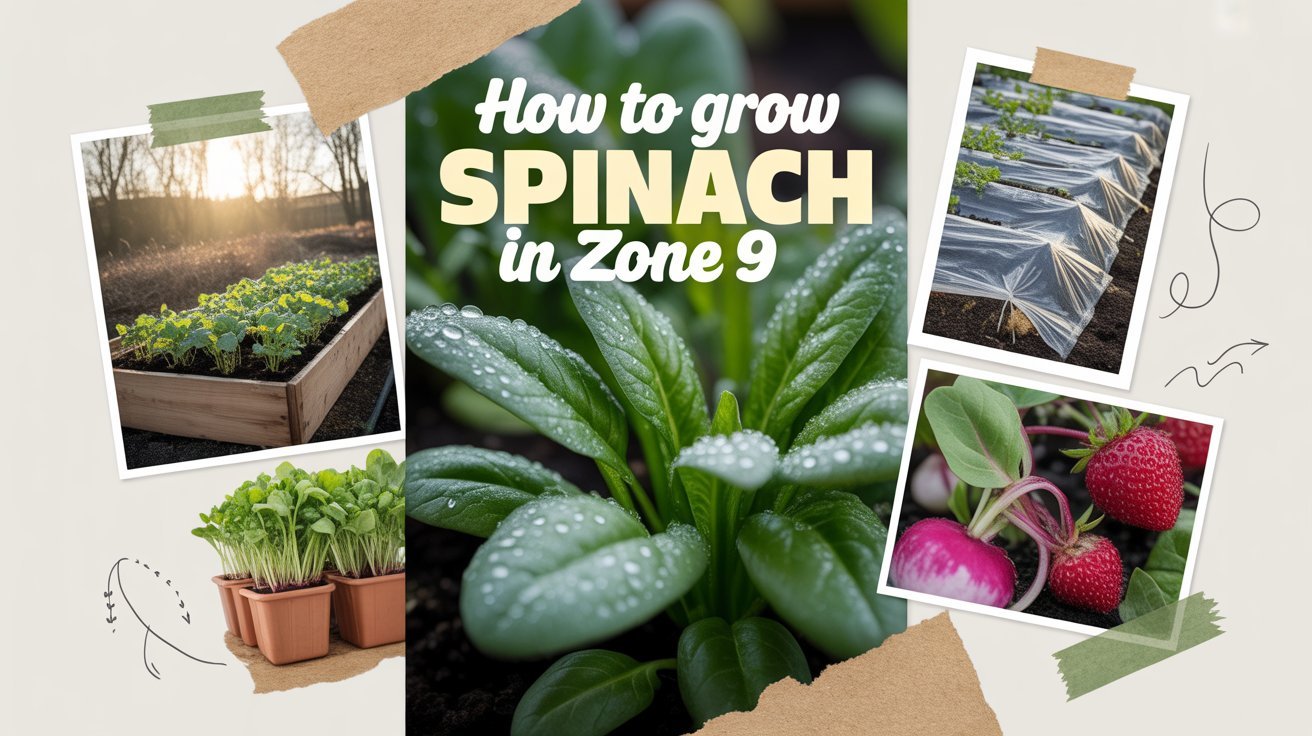
How to Grow Spinach in Zone 9: A Complete Guide 🌱
There’s something almost magical about stepping into your garden on a crisp Houston morning in January and harvesting tender spinach leaves still dewy with the night. Spinach is one of those gifts that cool-season gardening offers us here in Zone 9—a nutrient-packed, fast-growing vegetable that thrives in the mild winters we’re blessed with, and honestly, it’s become one of my favorite crops to grow year after year.
If you’re new to gardening or you’ve been at it for decades, spinach invites you into a rhythm of observation and faithfulness. You plant the seeds, you water consistently, you watch for the first tender leaves to unfurl, and then—almost before you know it—you’re harvesting fresh greens that taste infinitely better than anything from the grocery store. In our suburban Houston yards, spinach is perfect for raised beds, containers, and even tucked into edible landscaping where it adds soft, beautiful texture alongside ornamentals.
Let me walk you through everything you need to know to grow spinach successfully in our Zone 9 garden. This guide comes from seasons of learning, observing what works in our unique climate, and responding faithfully to what our garden tells us.
Free eBook
Rooted in Grace
A Christian guide to intuitive gardening — the whole book, free. Tell me where to send it and it’s yours in a minute.
Understanding Spinach: A Quick Plant Profile 📋
Before we dig into the details, let’s get to know spinach as a plant. Understanding its nature helps us grow it better—and that’s really the foundation of intuitive gardening. We observe the plant, we reflect on what it needs, and then we respond faithfully.
| Characteristic | Details |
| Plant Name | Spinacia oleracea |
| Plant Type | Cool-season annual |
| Best Growing Zone | USDA 2–9 (thrives in Zone 9) |
| Light Requirements | Full sun to partial shade (afternoon shade in early spring) |
| Soil Requirements | Well-draining, pH 6.0–7.5, rich in organic matter |
| Best Uses | Raised beds, containers, edible landscaping, mixed greens |
| Good Companions | Strawberries, radishes, carrots, beets, onions |
| Plants to Avoid | Potatoes, fennel, cabbage family |
Timing Your Spinach Planting in Zone 9 🗓️
This is where understanding our Houston climate becomes crucial. We’re blessed with a long cool season—much longer than northern gardeners—and that’s our advantage. The key is working with our natural rhythms rather than fighting them.
The Winter Crop (My Personal Favorite)
For your main spinach harvest, plant seeds in mid-fall, typically from mid-October through November. Here’s what I’ve learned through trial and faith: the soil is still warm from our Texas summer, which helps seeds germinate quickly, but the air temperatures are cooling down, which spinach loves. Bloomsdale is the variety I keep coming back to here. By the time we hit our coldest nights in December and January, your plants are established and actually more cold-tolerant. That’s when the real magic happens—tender, flavorful leaves develop in the cool season.
The Spring Succession
For an early spring harvest, you can sow again in late January through February. The beauty of successive plantings is that you’re never without fresh greens. I typically plant a new row every three weeks from October through early February, so I have continuous harvests through March.
Sanda’s Zone 9 Note: Our Houston-area gardens have the luxury of growing spinach during the seasons when it’s most flavorful and pest-resistant. I always mark October 15th on my calendar as my spinach planting reminder. If you miss that window, don’t worry—late January still gives you a solid spring crop before heat arrives.
Preparing Your Garden: Soil, Location, and Setup 🌍
Spinach is a root-level communicator. When the soil isn’t right, the plant tells you immediately. Before you plant a single seed, spend time observing and preparing your growing space.
Soil Preparation
Spinach prefers soil that’s well-draining but rich in organic matter. Our Houston clay can be challenging, which is exactly why so many of us have turned to raised beds and containers. If you’re amending garden beds, work in 2–3 inches of compost before planting. I love using finished compost from my own pile—there’s something humbling about feeding your garden with what it’s already given you.
Test your soil pH if you can; spinach is happiest in the 6.0–7.5 range. Our Houston water tends toward slightly acidic, which usually works in our favor here.
Light and Location
Spinach will grow in full sun during our cooler months, and I actually prefer it for more vigorous growth. However, as we move into February and March and those occasional warm days sneak in, afternoon shade becomes your friend. It keeps the plant cooler and delays bolting. I position my spinach beds on the east side of my garden, where they catch morning sun but are shaded by a taller structure by mid-afternoon.
Container Growing
For those of us with limited space—or those who love the flexibility of containers—spinach is wonderfully accommodating. Use a wide, shallow pot at least 6 inches deep, and fill it with quality potting mix rather than garden soil. A 12-inch pot can easily hold 4–5 spinach plants. This approach also lets you move your spinach closer to the kitchen door on chilly mornings, which I find both practical and delightful.
Planting Your Spinach Seeds 🌱
Here’s where patience and faith intersect. Spinach strongly dislikes being transplanted—the roots are tender, and moving them often sets them back. Direct sowing is the way to go, and it’s easier than you might think.
Sprinkle seeds directly into prepared beds, planting them about ½ inch deep, with seeds spaced 2–3 inches apart. If you’re planting in rows, space rows 12–18 inches apart. Water gently but thoroughly, and then do what’s hardest: wait. Within 7–10 days, those first feathery cotyledons will emerge, and you’ll remember why you love gardening.
Once seedlings have developed their first true leaves, thin them to 6 inches apart. I know it feels wasteful, but trust me—proper spacing is the difference between spinach that languishes and spinach that thrives. Those thinned seedlings? Add them to a salad. Nothing’s wasted in a faithful garden.
Sanda’s Garden Wisdom: Don’t skip the thinning step, even though it’s tempting. Crowded spinach plants compete for moisture and nutrients, they’re more prone to fungal diseases, and the leaves stay smaller and less tender. Thin ruthlessly—you’re showing love to the plants that remain.
Growing and Caring for Spinach Through the Season 💧
Watering With Intention
Spinach is a leafy green that needs consistent moisture—not waterlogged, but never dry. I aim for about 1 inch of water per week, though our Houston humidity means you’ll need less in cool months than you might expect. The best practice is to water deeply but less frequently rather than shallow daily watering. This encourages roots to grow deeper and makes plants more resilient.
Always water at the base of the plant, never overhead. Wet leaves are an invitation to fungal diseases, and our humidity already works against us. Early morning watering is ideal—the soil can absorb it before the heat of the day, and any splash quickly dries.
Mulching for Success
A 1–2 inch layer of mulch (I use shredded leaves or straw) around your spinach plants serves multiple purposes. It retains moisture, regulates soil temperature during those cool nights, prevents soil-borne disease spores from splashing up, and gradually breaks down to improve your soil. In Zone 9, mulch is especially valuable during our temperamental shoulder seasons—it’s like a blanket that moderates temperature swings.
Feeding Your Spinach
Spinach loves nitrogen—it’s what builds those beautiful green leaves. Rather than synthetic fertilizers, I use organic options that feed the soil as well as the plant. Composted chicken manure is my go-to, applied about 4 weeks after planting and again mid-season. You can also use fish emulsion diluted according to package directions, or work in compost around the base of plants every 3–4 weeks.
The spiritual practice here is subtle but real: you’re feeding the soil community—the microbes, the fungi, the earthworms—and they, in turn, feed your plants. It’s partnership, not domination.
Managing Pests and Diseases
Our cooler growing season is actually our biggest advantage here. Many pests that plague warm-season crops barely emerge in winter. That said, keep an eye out for aphids and leaf miners, both of which can find their way to spinach.
Row covers (lightweight frost cloth) are my first line of defense. They protect young plants from pests while still allowing light and water through. If you do spot aphids, a spray of neem oil applied in the evening usually handles them within a few applications. For leaf miners, which create those telltale pale squiggles in leaves, remove affected leaves promptly and maintain good spacing for air circulation.
Fungal diseases like powdery mildew or leaf spot are preventable through good practices: space plants properly, water at the base, and ensure air circulation. If you see diseased leaves, remove them immediately and dispose of them in the trash (not your compost, unless you’re confident your pile gets hot enough).
Sanda’s Tip: Scout your spinach beds twice weekly during the cooler months. These check-ins let you catch problems early and deepen your connection to your garden. I often find myself
Understanding Spinach Bolting in Our Warm Shoulder Seasons
One challenge every Zone 9 gardener faces is spinach bolting—that moment when your beautiful leafy plant suddenly decides to flower and go to seed, turning bitter and tough seemingly overnight. Understanding what triggers bolting helps you harvest at peak quality and time your plantings wisely.
Spinach bolts when temperatures consistently exceed 75°F, or when day length increases beyond 14 hours. Here in Houston, this typically happens in late March or early April, depending on the year. Rather than viewing this as failure, I’ve learned to see it as spinach’s natural rhythm—it’s telling you it’s ready to move on to its next phase.
The solution is succession planting combined with variety selection. Long-standing varieties like ‘Bloomsdale’ and ‘Space’ bolt more slowly than others, giving you an extra week or two of harvesting. I plant these deliberately in late January and early February, knowing they’ll give me good production through mid-spring. For earlier plantings (October through December), I’m less concerned about bolt-resistance since cool conditions will keep plants productive regardless.
Here’s a practical strategy I’ve refined over several seasons: watch your plants daily as we move into March. The moment you notice the center of the plant beginning to elongate or flower buds forming, harvest the entire plant. You’ll get more usable leaves this way than waiting for individual leaf harvests. Blanch and freeze what you can’t use immediately—summer smoothies made from home-grown spinach are worth the effort.
Harvesting Strategically for Continuous Supply
The beauty of spinach is that you don’t have to wait for the entire plant to mature before harvesting. This flexibility is especially valuable in our climate where the growing window can feel tight.
There are three harvesting approaches, and which you choose depends on your needs and growing timeline. The first method—and my personal favorite for mid-season plants—is continuous leaf harvesting. Once plants have developed 4–6 true leaves, begin pinching off outer leaves from the bottom, working your way around the plant. This encourages bushier growth and gives you fresh greens for weeks. It’s almost meditative, this gentle harvesting that respects the plant’s ongoing growth.
The second approach is baby spinach harvesting, where you cut plants at just 2–3 weeks when they’re tender and mild. This works beautifully in containers or close spacing if you’re specifically growing for delicate salad greens. You sacrifice total yield per plant but gain tenderness and the satisfaction of quick results.
The third method is mature plant harvesting, where you wait until plants are full-sized (30–40 days) and then harvest the whole plant by cutting at soil level. This is most practical for those planting in succession who want bulk harvests at specific times.
| Harvest Method | Timeline | Best For |
| Continuous Leaf Picking | 4–8 weeks | Extended harvest, tender leaves |
| Baby Spinach Cut | 2–3 weeks | Quick harvests, salad greens |
| Mature Plant Harvest | 4–6 weeks | Bulk supply, succession plantings |
The timing of harvest also affects flavor. Leaves are most tender and mild in early morning after the cool night. As the day warms, they become slightly tougher and more concentrated in flavor—still delicious, but different. I often harvest in the early dawn, when the garden is quiet and the light is soft, storing leaves in damp paper towels in the refrigerator
🛒 Shop This Post
What a Zone 9 fall spinach bed actually needs, from September sowing through the January harvests. Order seed early; the good varieties sell out by October.
- Bloomsdale Spinach Seeds (500) The variety that handles our swing from warm soil to cold nights. Over sixteen thousand reviews.
- R&M Organics Compost Two to three inches worked in before sowing. Spinach is a heavy feeder for something so tender.
- Down To Earth All Purpose 4-6-2 Slow release nitrogen keeps leaves coming without pushing the plants to bolt.
- HealthiStraw Garden Straw A thin mulch keeps soil moisture even, which is most of what prevents bitter leaves.
- Fiskars Pruning Snips For thinning without disturbing the roots of the seedlings you are keeping.
- Plant Covers, Freeze Protection Spinach shrugs off frost, but cover keeps leaves harvest-ready through a hard Zone 9 night.
- XLUX Soil Moisture Meter Uneven watering is the main cause of bitterness. This removes the guesswork.
- Rapitest Soil Test Kit Spinach sulks below pH 6.5. Worth knowing before you sow rather than after.
These are Amazon affiliate links. If you buy through them I earn a small commission at no extra cost to you — and I only link gear I actually use in my own Zone 9 garden.
Ready to Go Deeper in the Garden?
If this article resonated with you, you might be ready for something more than tips.
- Download the FREE Rooted in Grace eBook
- Get the Rooted in Grace Print Book on Amazon
- Join Rooted Reset
- Follow on Instagram – @southernsoils
- Save on Pinterest – @southernsoilsunshine
- Join on Facebook – Southern Soil Sunshine
“The garden is not just a place to grow plants – it is a place to grow yourself.”
Free eBook
Before you go — the book is yours
Rooted in Grace: A Christian Guide to Intuitive Gardening. No cost, no catch. Read it on any device, at whatever pace the season allows.





3 Comments