Soft Sourdough Sandwich Bread: The No-Drama Kind
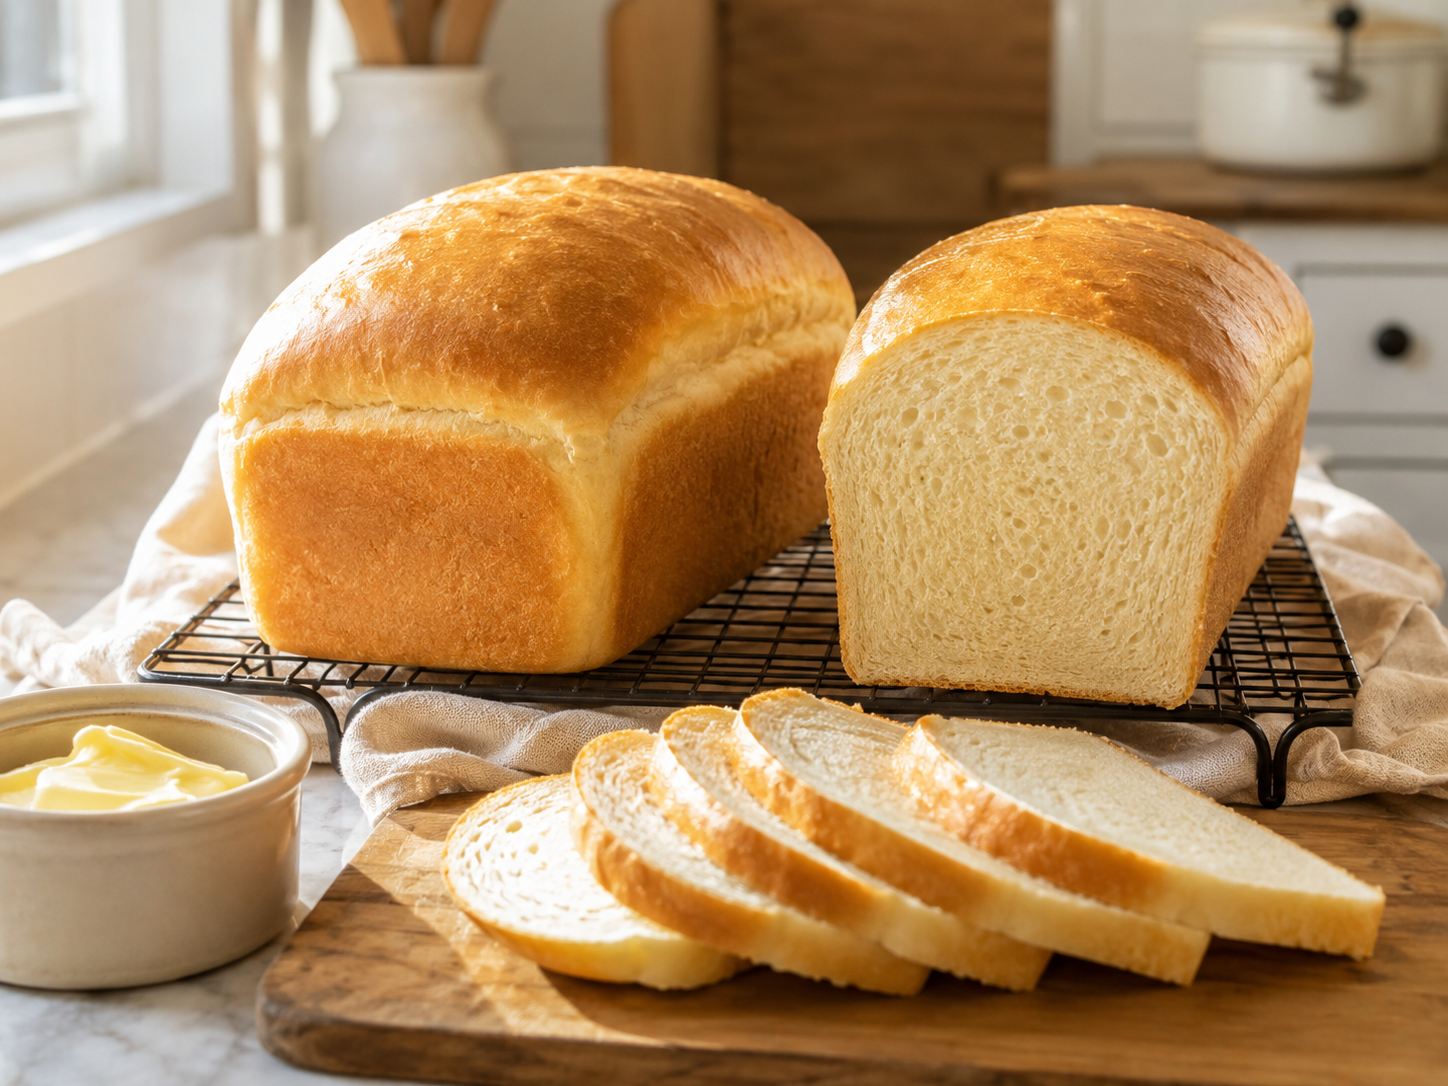
This is the loaf that earned a permanent place in the rotation, and it did it by being unremarkable in the best way. No dutch oven. No scoring pattern anyone will photograph. No standing at the counter watching a timer. Just two soft sandwich loaves that slice clean, hold a tomato without falling apart, and toast well on day three.
I make it in the summer when the garden is producing faster than we can eat, because a good sandwich loaf is what turns a pile of tomatoes and basil into supper. And I make it in January for the same reason, with different fillings.
The rhythm is what makes it work. You mix it, you leave it, you come back a few times over a couple of hours, and then it sits in the refrigerator overnight while you do not think about it at all. The bake happens first thing the next morning, before the kitchen has any business being hot.
Free download
Rooted in Grace: the eBook
If gardening has ever felt like more than a hobby to you, this is the book I wrote for that. Free, and yours to keep.
Why this one and not a fussier one
- It makes two loaves. One for the week, one for the freezer. The work is identical either way, which makes it the only sensible amount to make.
- The dough is firm, not slack. It handles like something you can actually shape, which matters if you have been intimidated by wet, sticky sourdough.
- The overnight cold proof does the flavor work. It also means the timing bends around your day instead of the other way around.
- It forgives a missed fold. If life happens between folds, the loaf will still be good. That is the whole design.
Free eBook
Rooted in Grace
A Christian guide to intuitive gardening — the whole book, free. Tell me where to send it and it’s yours in a minute.
What you need
- 200g active sourdough starter
- 600g warm water
- 85g honey, or maple syrup
- 1050g all-purpose or bread flour
- 40g olive oil or avocado oil
- 24g salt
Bread flour gives you a little more chew and a taller loaf. All-purpose gives you a softer crumb. Both work; I go back and forth depending on what is in the bin.
The rhythm
Here is how it actually fits into a day, which is the part most recipes leave out:
- Morning. Mix the dough. It takes ten minutes.
- Late morning. Four stretch-and-folds, thirty minutes apart. Each one takes under a minute. This is the stretch of the day I spend outside, coming in between tasks.
- Early afternoon. Let it rest 2 to 3 hours at room temperature.
- Late afternoon. Shape, pan, cover, and into the refrigerator.
- Next morning. Bake.
How to make it
- Mix. Stir the warm water, starter, and honey together until smooth and no lumps of starter remain. Add the flour, salt, and oil, and mix until there is no dry flour left. The dough should feel firm and structured rather than sticky. Cover and rest 30 minutes.
- Stretch and fold. Do four rounds, 30 minutes apart. Reach under one side of the dough, pull it up, fold it over the top, and turn the bowl a quarter turn. Four pulls per round. If you only manage two rounds, the loaf will still be fine.
- Bulk rest. After the last fold, leave it covered at room temperature for 2 to 3 hours, until it looks relaxed and slightly puffy. In a warm Southern kitchen this happens faster — start checking at 2 hours.
- Shape. Divide the dough in two. Stretch each half into a rough rectangle, fold the sides toward the middle, then roll it up into a tight log from the short end. Set each seam-side down in a parchment-lined loaf pan.
- Cold proof. Cover the pans and refrigerate overnight. This is where the flavor develops and where the texture gets soft. Do not skip it in favor of a faster room-temperature proof.
- Bake. Preheat to 400°F. Bake covered for 30 minutes — a sheet of foil tented over the pans is enough. Uncover, drop the oven to 375°F, and bake another 10 minutes until lightly golden. Turn the loaves out onto a wire rack and cool before slicing.
Small adjustments
- For a softer crust, brush the tops with butter the moment they come out of the pans.
- For one loaf, halve everything. The method is identical.
- For a little more character, swap up to a quarter of the flour for whole wheat. Past that, the crumb starts getting dense.
- If your kitchen runs hot, shorten the bulk rest and let the refrigerator do more of the work. Down here that is most of the year.
Storing it
- Sliced, in a bag or bread box at room temperature: 2 to 3 days before it starts drying.
- Sliced and frozen: pull out what you need and toast straight from frozen. This is what the second loaf is for.
- Skip the refrigerator for storage — it stales bread faster than the counter does.
What I Reach For to Make This Bread
Two loaves at a time means the equipment earns its keep. This is what I actually use.
This recipe makes two. Matching pans means both loaves bake at the same rate, which sounds obvious until you have baked in mismatched ones.
Over a kilo of flour in this recipe. Cup measurements will not get you close enough.
Cuts through a stiff dough far better than a spoon, and it does not disappear into the middle of it the way your hand does.
Straight sides let you actually see how much the dough has risen. A mixing bowl and a towel guess at it.
What keeps the first loaf soft while the second one is in the freezer.
As an Amazon Associate I earn from qualifying purchases, at no extra cost to you. I only point you toward things I would actually use in my own kitchen.
If this is your first sourdough that is not a boule, start here. It is the one that convinces people the whole thing is manageable.
Keep Reading
If this loaf worked for you, try these next.
Free eBook
Before you go — the book is yours
Rooted in Grace: A Christian Guide to Intuitive Gardening. No cost, no catch. Read it on any device, at whatever pace the season allows.