How to Set Up Year-Round Seed Starting for Warm Climates

Some of the links on this website are affiliate links, which means that if you make a purchase through these links, I may earn a small commission at no additional cost to you. As an Amazon Associate, I earn from qualifying purchases. I only recommend products I genuinely trust and believe will bring value to my readers. Also, some of the content was created with strategic use of AI tools. For more information, please visit the Privacy Policy page. Thank you for supporting my blog and helping me continue to provide valuable content.
I’m excited to share my love for growing all year with you! As a budget-wise gardener in a warm area, I’ve found the joy of indoor gardening. There is nothing more uplifting than seeing the birth of new life, and the moment a new bud bursts out of an old seed is among the most exhilarating. It’s also a big help for growing more plants all year long.
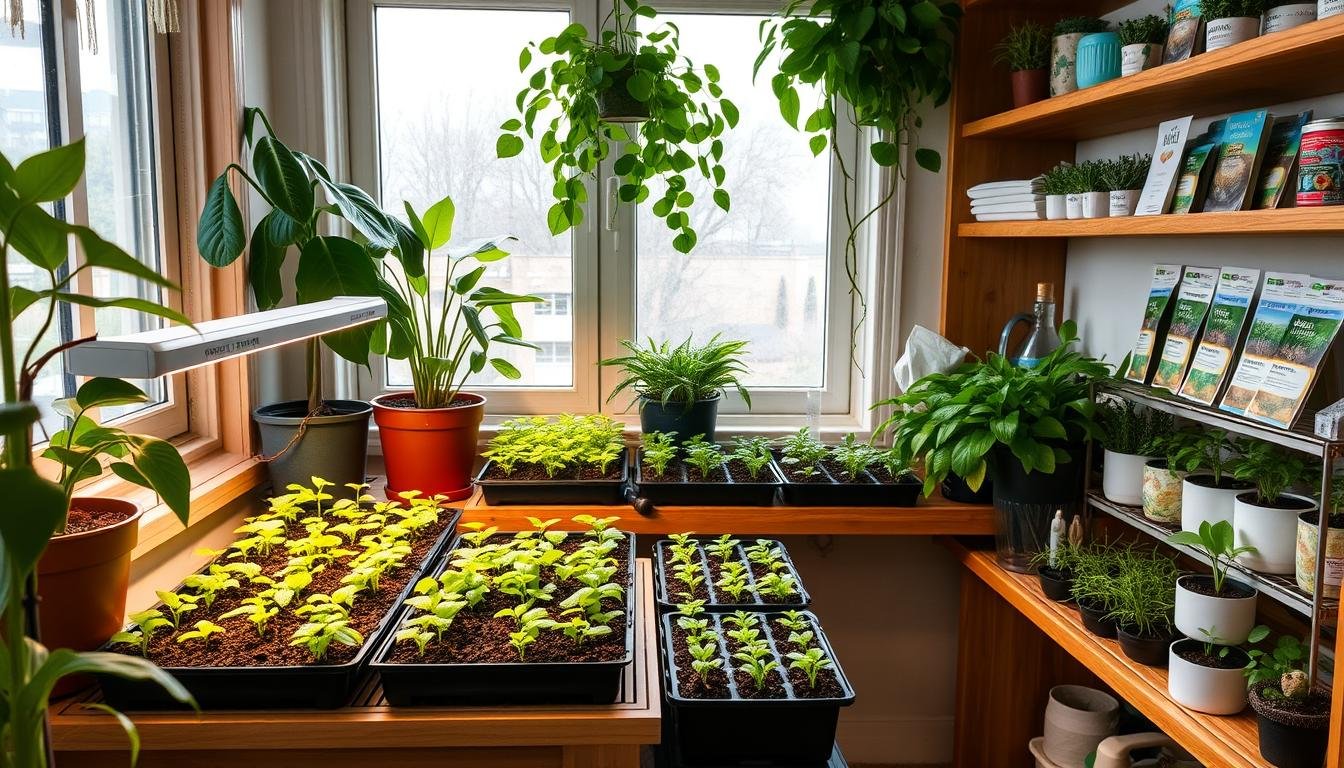
I keep things simple but effective. I use two shelving units with LED lights to grow over 2,000 seedlings a year for my 1/3 acre suburban1. This small system lets me start seeds indoors 6-8 weeks before the last frost. It gives my plants a big advantage2.
Warm climate gardening means we can grow for longer. With my indoor setup, I can control the growing conditions. I use special seed starting soil mixes to help my seedlings grow strong2.
One of the best things about this setup is how affordable it is. While it costs money for shelves, lights, fans, and trays at first, starting seeds saves a lot of money. It also lets me control my plants’ health and growth better2.
Are you ready to start your own warm climate gardening journey? Stay tuned! I’ll share more tips and tricks for setting up your own indoor seed starting space.
Why Growing Your Own Seedlings Matters in Warm Climates
In warm climates, starting seeds indoors is a big advantage for your garden. It’s not just about getting a head start. It’s about growing stronger plants that can handle the heat and pests in southern areas. Let’s explore why growing your own seedlings is key for us warm climate gardeners.
Cost-Effective Garden Planning
Growing seedlings at home is like having a tiny plant nursery in your living room. It’s a dream for thrifty gardeners! Indoor seed starting can save you a lot of money3. Instead of buying expensive transplants, you create your own strong plants from cheap seed packets. This way, you save money over time.
Greater Variety Selection
Growing your own seedlings opens up a world of plant varieties. You’re not stuck with what local nurseries offer. Heirloom varieties bring unique flavors and colors to your garden4. These seeds grow plants just like their parents, great for saving seeds. Starting seeds indoors lets you try rare and exotic varieties that might not do well in our hot summers.
Control Over Growing Conditions
In warm climates, controlling your seedlings’ early environment is key. Indoor seed starting lets you manage temperature, moisture, and light precisely. This is especially helpful for cool-weather crops like lettuce and broccoli, which struggle in our hot summers4. By growing these plants indoors, you give them a better chance to grow strong before facing the heat outside.
Starting seeds indoors also helps with climate adaptation. You can plant at cooler times, making sure your plants are ready for the heat. This method lets you plant in succession, making your garden more productive all season5.
| Benefit | Indoor Seed Starting | Direct Sowing |
|---|---|---|
| Pest Resistance | Higher | Lower |
| Season Extension | Significant | Limited |
| Variety Options | Extensive | Restricted |
| Cost Efficiency | More Efficient | Less Efficient |
By starting seeds indoors, we’re not just growing plants. We’re building a resilient and diverse garden that thrives in our warm climate. It’s a mix of traditional gardening and modern climate techniques, keeping our gardens productive and lively all year.
Essential Equipment for Indoor Seed Starting
Starting seeds indoors is a rewarding journey that requires the right tools. Let’s explore the must-have items for your seed-starting adventure. Seed trays are the foundation of any setup, with Epic Seed Starting Trays designed for long-lasting use6. For those who prefer a hands-on approach, DIY containers are just as popular as store-bought options6.
Grow lights are crucial for healthy seedling development. They provide the necessary light and heat, with 14-16 hours of daily illumination recommended6. When choosing lights, consider Barrina Super Bright White LED Lights or Full-Spectrum LED Lights for optimal results7. Position these lights 2 to 3 inches above your seedlings for best growth7.
Heating mats are invaluable for warm-season crops like peppers and tomatoes, which need higher soil temperatures to germinate6. These mats help maintain consistent soil warmth, especially for seeds requiring toastier conditions6. Pair them with humidity domes to trap moisture and aid germination6.
Don’t forget about the growing medium! A proper soil mix should contain compost, perlite or sand, and peat moss or coconut coir6. Many gardeners swear by Espoma Organic Seed Starter for its quality6. Remember, good drainage is key – use containers with holes at the bottom to prevent waterlogged roots6.
Lastly, consider adding reflectors like aluminum foil to boost your grow lights’ effectiveness6. With these essentials, you’ll be well-equipped to nurture your seedlings from tiny sprouts to thriving plants ready for the garden.
Creating the Perfect Growing Environment
Creating the right environment for your seedlings is crucial for gardening success. This involves making a microclimate and caring for your seedlings. Let’s look at the key parts of controlling your indoor garden’s environment.
Temperature Control Methods
Keeping temperatures steady is vital for seedling growth. In warm areas, use air conditioning or fans to keep it stable. Some seeds need a space heater for the right warmth.
Start seeds indoors six to eight weeks before the last frost date in your area8.
Humidity Management
Right humidity is key for seedling health. Use humidity domes to keep moisture in during germination. But, watch out for too much moisture, which can cause mold.
Aim for soil that feels like a damp cake. It should not be too wet or too dry.
Air Circulation Solutions
Good air flow stops mold and makes seedling stems strong. Use small fans to gently move air. This helps plants grow strong like they would outdoors.
Seedlings need lots of light. LED grow lights give the right light without too much heat. Place lights close to seedlings and move them as they grow8.
| Environmental Factor | Control Method | Benefit |
|---|---|---|
| Temperature | AC, fans, heaters | Consistent growth |
| Humidity | Domes, misting | Proper moisture |
| Air Circulation | Small fans | Strong stems |
| Light | LED grow lights | Healthy development |
By focusing on these environmental controls, you’re setting up your seedlings for success. Keep an eye on and adjust these conditions often. With patience and care, you’ll have healthy plants ready for your garden9.
Selecting the Right Growing Medium and Containers
Choosing the right growing medium and containers is key for starting seeds successfully. Let’s look at the important parts and things to consider for your seedling setup.
Soil Mix Components
A good potting soil that drains well is crucial for seedlings. Sphagnum peat should be the main ingredient. Vermiculite helps keep air and nutrients in, and perlite improves aeration10. Don’t use garden soil, as it can harm your seedlings.
Container Types and Sizes
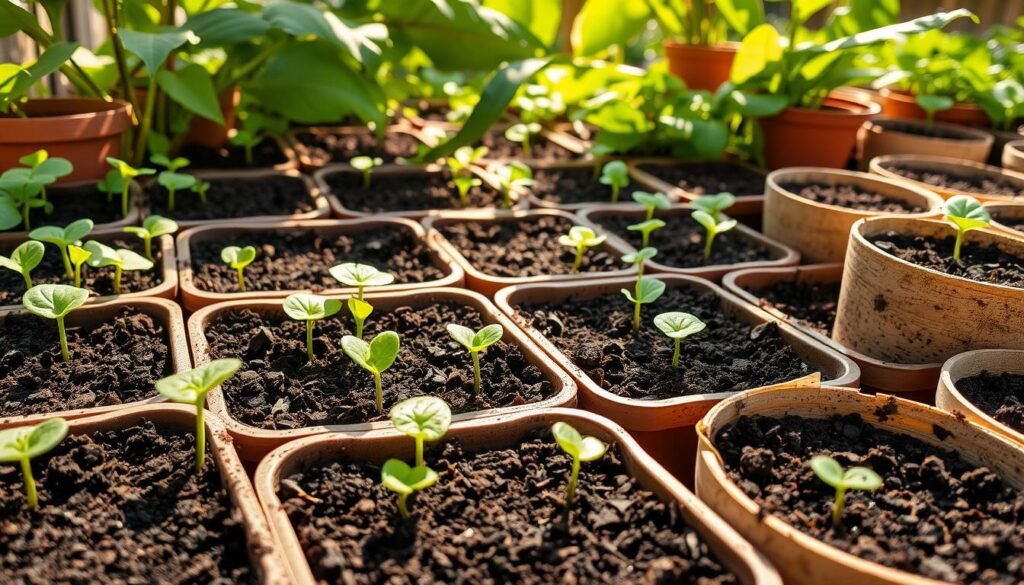
For beginners, 4-inch containers are great for starting a few types of seeds. More experienced gardeners might like trays with cells for 60-70 seedlings11. Biodegradable pots, made from recycled materials or peat, help reduce transplant shock and let roots grow freely11.

Seedling trays are great for growing lots of plants at once. Biodegradable pots are eco-friendly. For city gardeners, bigger containers help seedlings grow strong with good root systems12. Think about using old pots or food containers with holes for a budget-friendly option12.
Drainage Considerations
Drainage is key to stop waterlogging and root rot. Make sure all containers have enough holes for water to drain. When using the EarthBox® system, fill the container a bit more to avoid water pooling on top10. In warm places, bigger containers that hold moisture well are better.
By picking the right growing medium and containers, you’ll make a great place for your seeds to grow. They’ll become healthy plants ready for your garden.
Lighting Systems for Successful Seedlings
Choosing the right lighting for seedlings is key in warm climates. The grow light market has grown a lot, offering many choices for gardeners13. LED grow lights are now popular because they save energy and last long, replacing old fluorescent lights14.
Think about the light spectrum and intensity when picking a system. Full spectrum LED lights give seedlings a natural light feel, like sunlight13. The light’s strength, measured in PPF or foot-candles, is usually 10-50. Stronger light is better for seedlings to grow14.
The photoperiod, or how long seedlings get light, is also important. Most seedlings need 16 hours of light a day. Using a timer helps keep the light time consistent, which is good for growth.
| Light Type | Energy Efficiency | Lifespan | Heat Emission |
|---|---|---|---|
| LED | High | Long (2-5 times fluorescent) | Low |
| Fluorescent (T5/T8) | Moderate | Moderate | Moderate |
| Fluorescent (T12) | Low | Short | High |
LED grow lights are best for warm climates because they don’t get hot like fluorescent bulbs13. Place lights 4-6 inches above seedlings and move them up as they grow. This helps them stay strong and healthy.
Seedlings that spend months indoors need lots of light for strong stems and a head start14. A good lighting system is essential for healthy plants in your warm climate garden.
Year-Round Planting Schedule for Warm Zones
In warm climates, a good year-round planting plan is essential for a lively garden. Knowing your area’s growing conditions helps you get the most from your garden. This is done through smart crop rotation and planting at the right times.
Summer Crop Timing
In the hot summer months, choose plants that can handle the heat. Start these indoors to keep them safe from extreme weather. For example, peppers and tomatoes need 6 to 8 weeks indoors before they can go outside15.
Winter Growing Windows
Use the cooler winter months for growing cool-season crops. Beets, broccoli, cabbage, and cauliflower need 4 to 6 weeks indoors before they can go outside15. This helps them grow well in the milder weather, improving your garden’s rotation.
Succession Planting Strategy
Succession planting keeps your garden producing all year. Start new seeds every 2-3 weeks, especially for fast-growing crops like radishes and bush beans16. This way, you always have fresh produce and your garden stays productive.
Adjust your planting schedule based on your local climate and garden’s microclimate. By following these tips and watching your plants, you’ll have a garden that thrives all year in your warm zone.
| Crop | Indoor Seed Starting (Weeks) | Best Season |
|---|---|---|
| Tomatoes | 6-8 | Summer |
| Broccoli | 4-6 | Winter |
| Corn | 3-4 | Summer |
Water and Fertilization Management
Managing water and nutrients is crucial for healthy seedlings in warm climates. Bottom watering promotes strong roots and prevents damping off. It involves placing seed trays in shallow water for moisture absorption.
Start with a weak, balanced fertilizer solution once seedlings have true leaves. In warm climates, watch moisture levels closely due to high evaporation. Self-watering systems or capillary mats help maintain consistent moisture.
Choose organic fertilizers for seedlings. They release nutrients slowly, reducing over-fertilization risks in heat. Most seeds germinate best between 65 to 75 degrees Fahrenheit17.
Adjust your nutrient plan as seedlings grow. Growing transplants from seeds saves 4 to 8 weeks of time18.
“Water is the driving force of all nature.” – Leonardo da Vinci
Excessive crowding can cause weak growth. Ensure proper spacing for healthy development. Water soilless media when it’s dry, and soil when it’s not moist18. With attention to watering and fertilization, you’ll grow strong seedlings for your garden.
Common Challenges in Warm Climate Seed Starting
Gardening in warm climates has its own set of challenges. Issues like heat stress and pest invasions can affect seedling success. Let’s explore these problems and find solutions.
Heat Management Issues
Too much heat is bad for seedlings. Many plants struggle when the soil gets too hot. For example, beets and carrots don’t germinate well above 90°F, while lettuce prefers cooler temperatures around 65°F19.
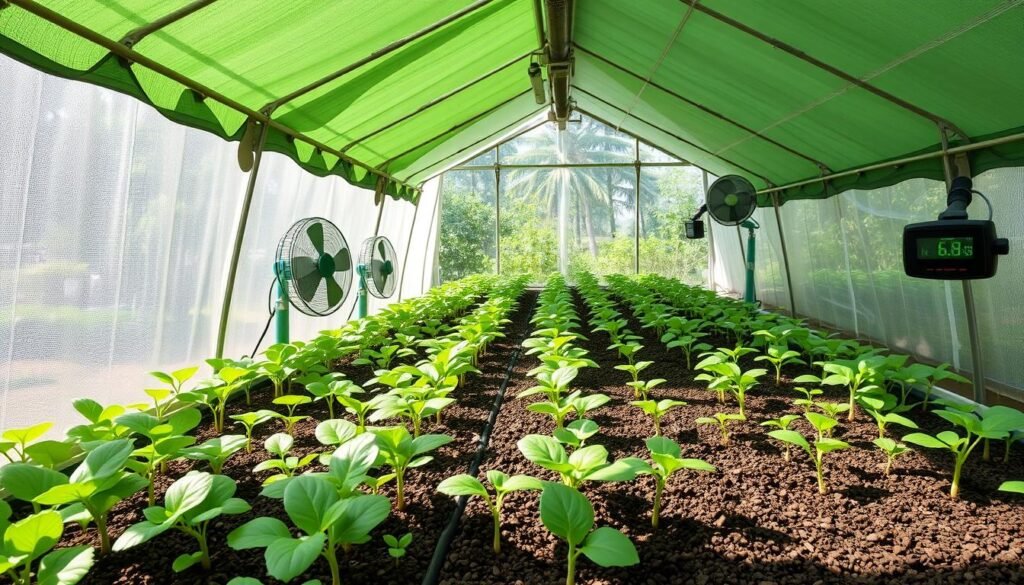
To fight heat stress, make sure there’s good air flow. Use shade cloth during the hottest parts of the day. Mist your seedlings to cool them down without making the soil too wet.

Pest Prevention
Warm climates attract pests like aphids and whiteflies. These pests can harm your seedlings. To keep them away, use beneficial insects and organic pest control.
Regular checks can help catch pests early. This makes it easier to control them.
Disease Control
Diseases like damping off are common in warm, humid places. This fungus can kill seedlings quickly. To stop it, use clean seed starting mix and water from the bottom to keep the soil dry20.
Good air flow is key to preventing disease. Don’t overcrowd your seedlings. If you see disease, remove sick plants right away to stop it from spreading.
Mastering seed starting takes time and effort. By tackling these common challenges, you can grow healthy seedlings in your warm climate garden. Stay alert, adjust your strategies as needed, and you’ll see the fruits of your labor soon.
Transitioning Seedlings to Outdoor Conditions
Oh, the excitement of moving our little green babies outdoors! I remember my first time transitioning seedlings – it felt like sending my children off to school. The process, called hardening off, is crucial for their survival. Without it, our precious plants might suffer sunburn or even perish21. In warm climates like ours, we need to be extra careful.
Let’s start the acclimation process when outdoor temperatures reach at least 45°F. This prevents weakening warm-season crops like our beloved tomatoes and peppers22. Begin by placing seedlings outside for an hour or two, gradually increasing their exposure each day22. It’s like dipping your toes in the pool before diving in!
To avoid transplant shock, ensure the garden soil is moist but not waterlogged22. When planting, dig a hole slightly larger than the root ball and gently loosen the roots – it encourages them to spread out and get cozy in their new home22. In our dry climate, I’ve found that spreading mulch around the seedlings helps retain moisture and supports their establishment22.
If you’re using LED grow lights with UV diodes, you might be able to skip the hardening off process entirely. My pepper seedlings exposed to these intense lights have handled high noon sunlight without breaking a sweat21! But if you’re not sure, it’s always better to err on the side of caution. Remember, successful transplanting is key to a thriving garden. So, take your time, be patient, and soon you’ll be enjoying the fruits (or vegetables) of your labor!


3 Comments